Showing posts with label Landscape. Show all posts

Monday, February 3, 2020

Northern Lights Landscapes

Credit: Elements of the Art Room, Mrs. Cartmill's Art Room

Supplies:
Chalk Pastels (various warm and cool colors)
White Oil Pastels
White Cardstock Paper
8.5x11 Black Glitter Paper
Black Acrylic Paint and Paper Plates (for palettes)
Fan and Flat Brushes
Baby Wipes

If you've been at Prairie View since Kindergarten, this will be our fifth Northern Lights project! But for those of you just joining us, let's review The Science and Beauty of Auroras!


Here is our project today:


Now that we know the science, let's take one more look at the colors and how the lights dance and move as we get ready for our art project!


Instructions:

1. Hand out Glitter Paper.
2. Add a thick white line to the bottom of the paper using a white oil pastel (about a 1/4 of the way from the bottom of the Glitter Paper). We want to leave lots of "sky" above for our Northern Lights.
3. Next we are going to work on our Northern Lights. Take a look at this video for the technique before you begin. (Turn off video at 2:51 mark as we will be doing something different with our landscapes once the Northern Lights are completed).


4. Tear white cardstock horizontally.
5. Lay down the cardstock and add warm chalk pastel colors to the top along the torn side (only on the white - not the black glitter paper).


6. Once all of the colors have been added to the torn side (see example above), place the cardstock near the top of the black glitter paper and using your finger, swipe up to transfer the chalk pastel to the black glitter paper like in the video. See how the colors are blending?


7. Tear off another strip of white cardstock in a different pattern and now use cool colors. Remember that we want our Northern Lights to move across the paper!


8. Alternate warm and cool colors with the remaining cardstock - moving the cardstock around to create different directions. Notice that some are close together and others are spaced apart. Make sure to take a look at your spacing and plan so that you are able to get all four strips onto the skyline before you reach the "snow."


9. Once you have your Northern Lights completed, fill in the bottom with the rest of your "snow" (if not already completed).
10. Add a couple of trees (2-3 only) to the landscape. Watch this video (and technique) that we have used before:


11. Set aside to dry. Once dry, feel free to add a little bit of white oil pastel to the tips of your trees for "snow."

Saturday, October 31, 2015

Grandma Moses "Winter In Vermont"

October 28, 2015

Grandma Moses "Winter in Vermont" - 5th Grade Art

IMG_7741.JPG

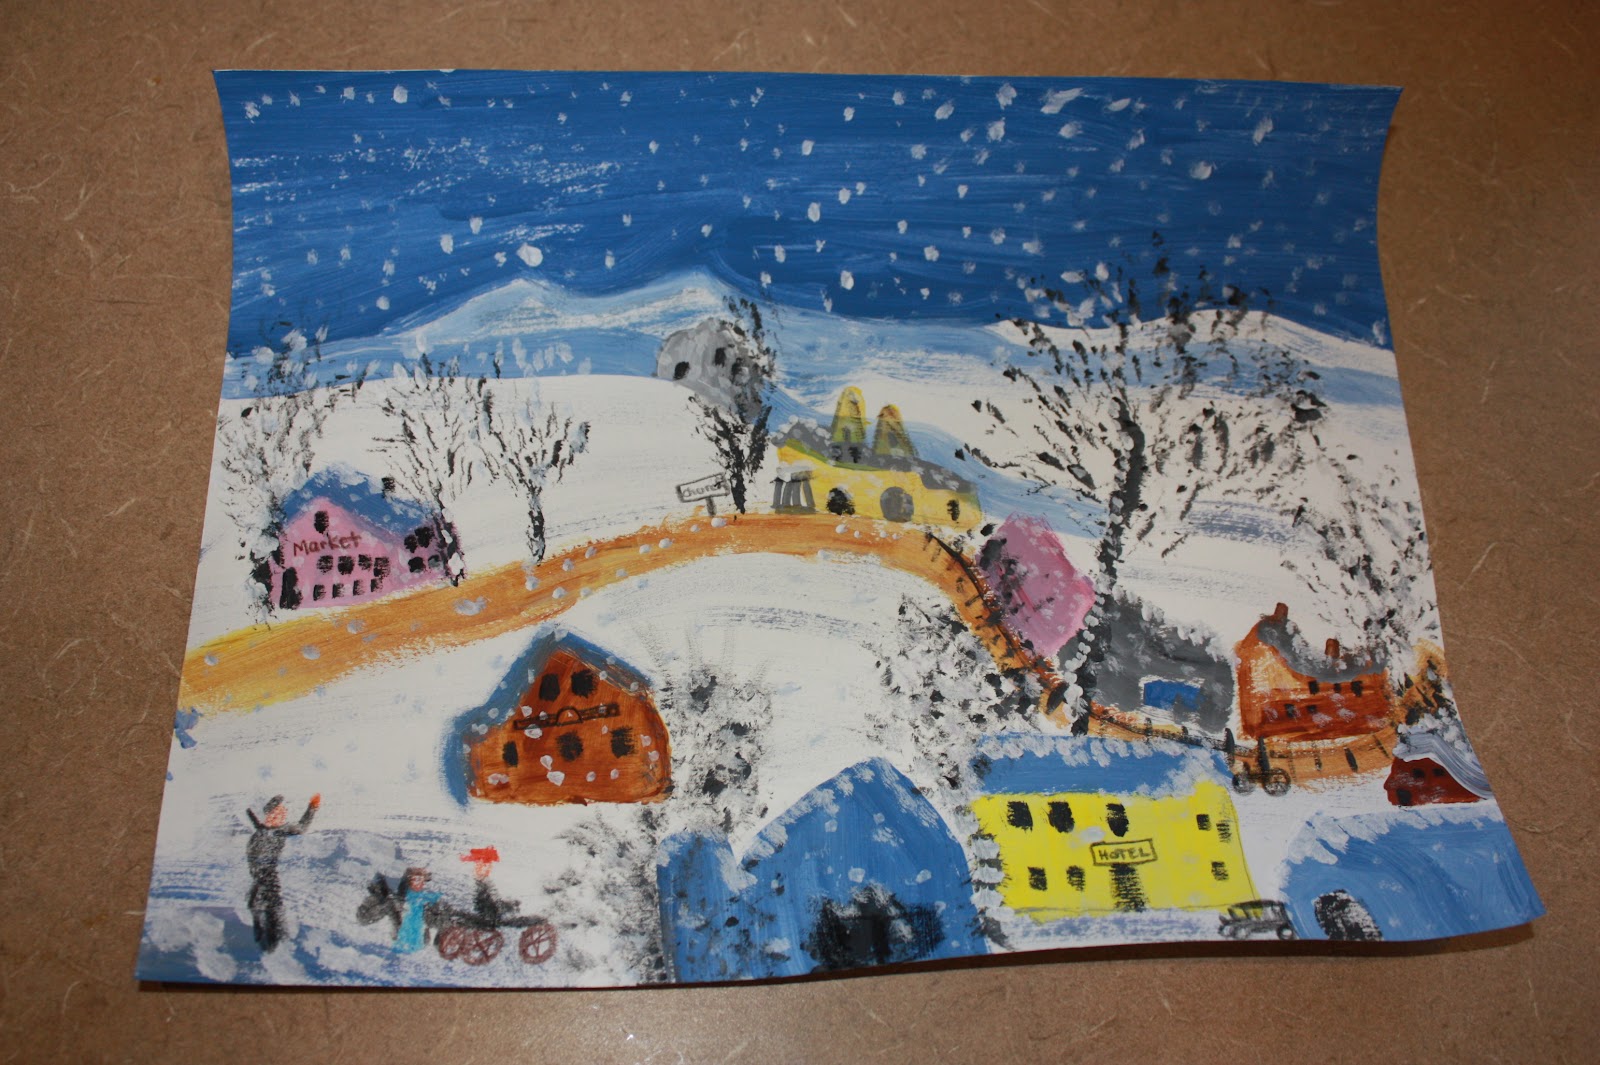
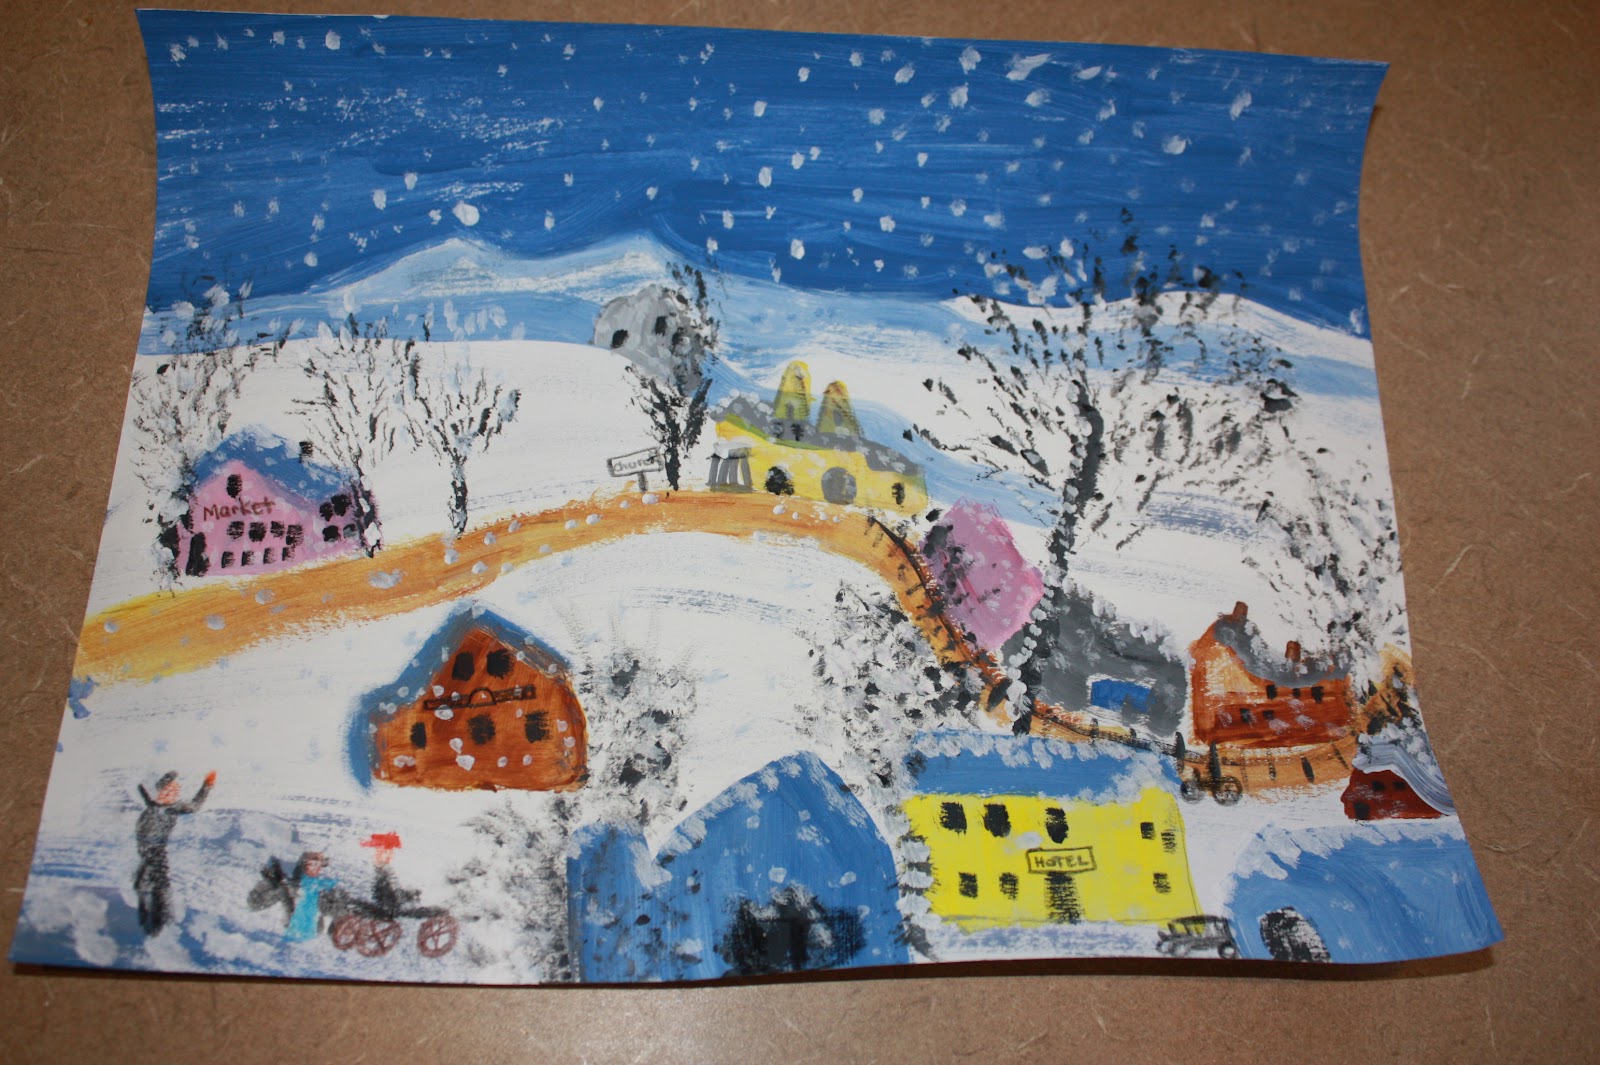
Artwork shown above is by Alicia Frank taken from a Grandma Moses, “Winter in Vermont”
Grandma Moses     ...Winter:
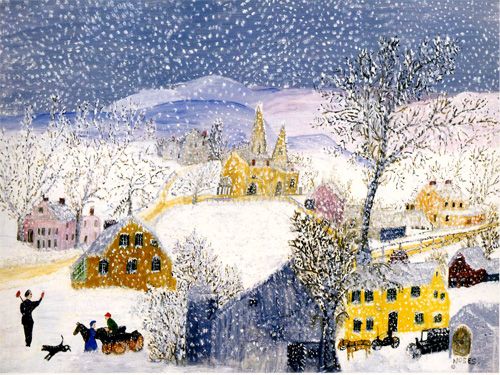
Grandma Moses, “Winter in Vermont”

Medium: Tempera paint and colored pencils

Reason for the lesson:  Element of Art is perspective.  To study the works of art from artist Grandma Moses and to use her style to paint a landscape picture.  This art uses layers of paint to add bold colors to paper.  This art is set in a colonial style small town in Vermont during winter.  5th grade teachers would like us to talk about colonial towns and the kind of stores, churches, buildings that were available in colonial towns.  We will label some of the building in our art. (Shoe Shop, Blacksmith, Market, Herbal Store, General Store, Doctor, Church, Pots and Pans)

Label:  5th grade, Grandma Moses, Tempera Paint, Landscape, Winter

Prep Time: 30 minutes

Prep Prior to Class:  Gather 5th grade box from the art closet.  Fill cups of water for rinsing.  Pick out art from Grandma Moses to display by document camera or library books provided in the box.  See this blog:  The art is different but the concepts are similar.  http://www.artforsmallhands.com/2013/02/in-style-of-grandma-moses.html?m=1

Class Time: 1 hour session and ½ hour session
Materials: 8 ½ x 11 white paper, pencils, colored pencils, water cups, paint cups, large and small paint brush, and paper towels.  The students should have pencils and colored pencils at their desk.  Provide large scratch piece of colored paper to protect desk and tap off excess paint.

Instructions to Lead Lesson:

Step 1:  Talk briefly about the life of Grandma Moses.  See this blog:

Discuss the main characteristics of Grandma Moses’ works: she painted from her memories; she divided her paper, painting the sky first, then the hills, then the cattle, and then the buildings and people; her paintings are cheerful and full of bright, pure colors; she used no shadows; and she showed perspective, or distance, by painting objects larger in the foreground (closest to the viewer) and smaller in the background (farthest from the viewer).

Describing her process, she said, “I paint from the top down. First the sky, then the mountains, then the hills, then the trees, then the houses, then the cattle, and then the people.” Her tiny figures cast no shadows and seem arrested in action. Her use of color relates to the seasons, such as white paint for winter scenes, light green for spring, deep green for summer, and brown for autumn. Working from her memories, she portrayed the way of life that she had once lived. She painted over 1,000 paintings, twenty-five of which she did after her 100th birthday.

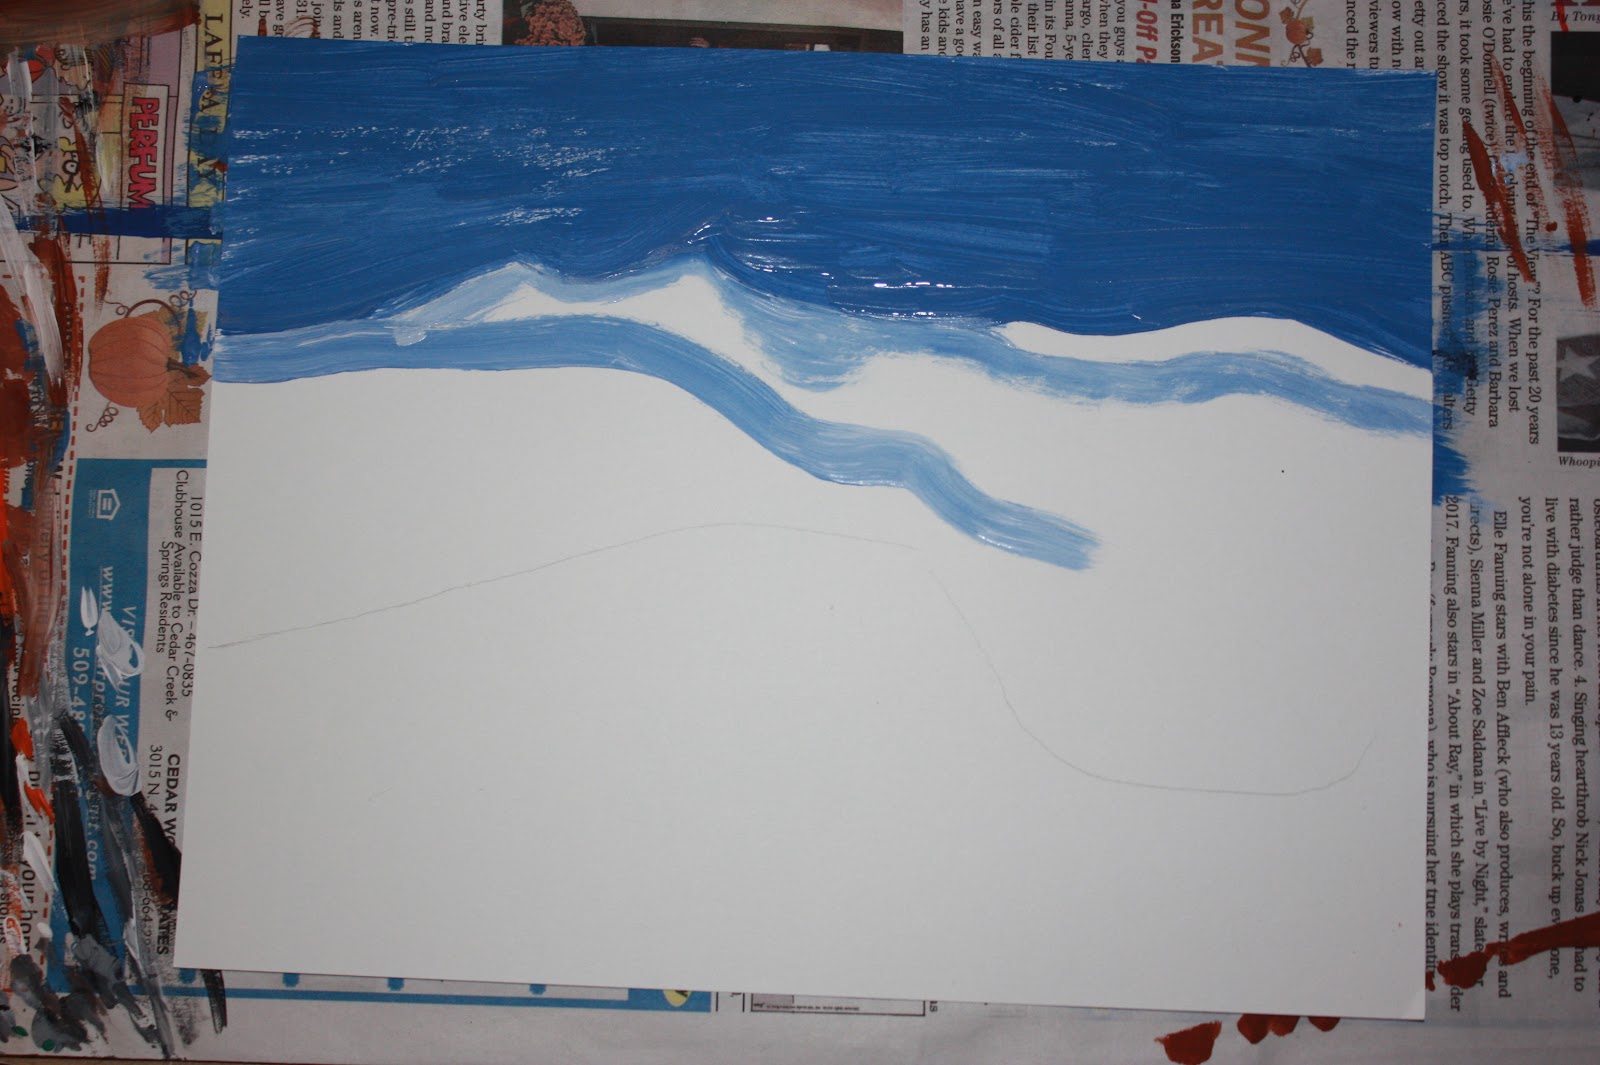
We want to paint a “winter scene” as Grandma Moses would.  Begin by sketching the line of the sky, mountains and hills with pencil.  Then mix blue and white to create an icy blue...darker for the sky and lighter for the shading on the top of the hills.  Paint the sky first as Grandma Moses would then move to the hills.  Paint the road brown mixed with a little yellow.  When mixing colors take a dab of the two colors and lightly mix to make the new color so that you still see a variation of the two colors not a solid color.

While painting today remember to keep your brush dry and not to water down the paint.

The “snow” white isn’t painted. The paper is white.
IMG_7732.JPG

IMG_7736.JPG
Step 2:  
Next think about what type of colonial houses you would like to add to your painting.  For example, a Shoe Shop, Blacksmith, Market, Herbal Store, General Store, Doctor, Church, Pots and Pans shop.  You may sketch out your buildings along the road with a pencil.  Paint each simple building shape.


Step 3: Using a very dry brush gently tap your small brush in the black paint.  Tap some of the paint off on the scratch piece of paper.  Tap a thicker trunk of the tree.  Then gently tap branches to the side of the truck to create branches of a tree.  Gently tap bushes as well.
IMG_7737.JPG


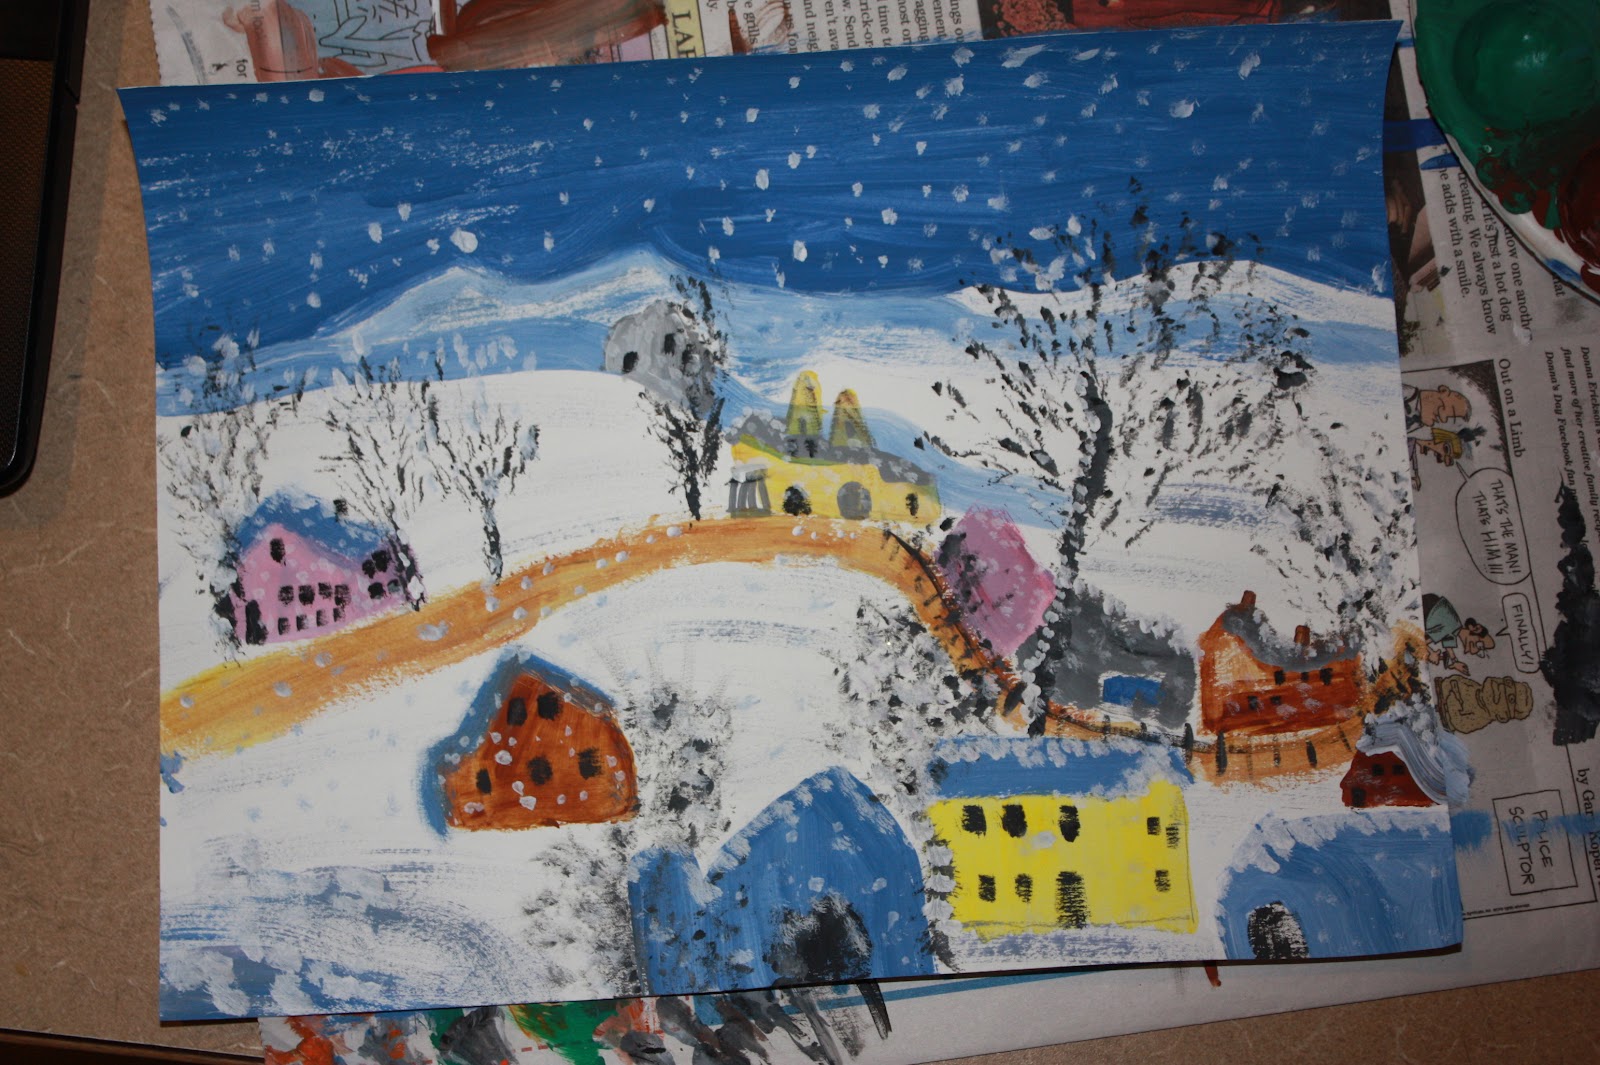
Step 4:  Add roofs to houses with ice cold blue or grey, windows and doors to houses in black paint with a small brush.  Add a fence in black.  Add snow details with ice cold blue with a medium brush with a small amount of paint.  The paint brush will be very dry.  Add drops of snow throughout the entire landscape and on top of the building and trees.
IMG_7738.JPG


Step 5:
When project paint is dry, add details in colored pencils such as people, cars, wagon and horse, policeman, signs to name a few of the buildings throughout the town.

IMG_7742.JPG