Showing posts with label Pattern. Show all posts

Monday, November 2, 2015

Clothespin Worry Dolls

Title of Lesson: Clothespin Worry Dolls

Medium: Clothespins, Yarn, Sharpie Markers

Reason for Lesson: Lesson was created to teach the students about how art can be a great gift to give someone else, and how there are many different mediums that you can use to create art.

Elements of Art: You can talk about color, shape, and repetition. The repetition of wrapping the yarn around the clothespins can create the look of a piece of clothing (ie. Shirt, pants), and the yarn “loose” on the top gives the impression of hair. Using the same medium (yarn) in different ways can create very different things. Making worry dolls provides a great opportunity for storytelling, to discuss coping, and the repetitive, patterned nature of wrapping the yarn around the clothespin can be soothing and calming.

Prep Time: baggies for individual students will be made by the coordinator for the docents to hand out in class. Baggie will contain the clothespin, and yarn.

Class Time: 1 hour

Materials: Clothespins, yarn, pipe cleaners, Sharpie markers, glue, plastic baggies

Instructions to Lead Lesson:
Worry Dolls: in Spanish, Muñeca Quitapenas (dolls that remove worry) sometimes referred to as trouble dolls are a traditional Guatemalan toy that are small, colorful little people that a person puts under their pillow after telling them something that’s bothering them, and then goes to bed. Overnight, the worry dolls are said to worry in the person’s place, letting them sleep peacefully. Worry dolls are used to help children ease their minds.


1             1.  Wrap & twist a pipe cleaner around the clothespin to create arms. Cut to size for arm length.


2. Begin wrapping your clothespin with yarn. Wrap over the pipe cleaner as well.


3.      When wrapping gets to the waist, you can start wrapping each “leg” individually.
4.      Wrap the other leg.
5.      Use markers, colored pencils, or paint to add a facial expression, hair, skin tone, shoes, etc. Cut a heart out of the felt and glue to the front.


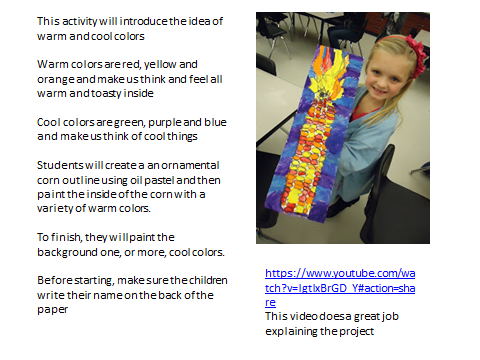
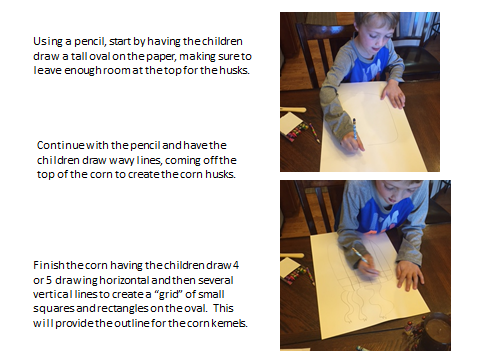
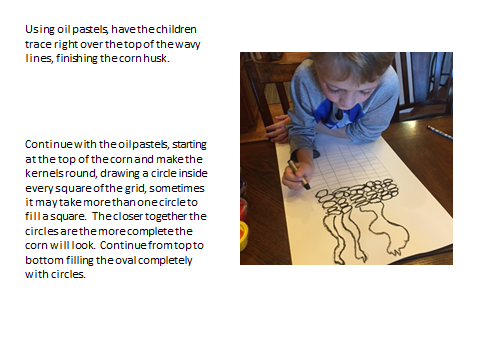
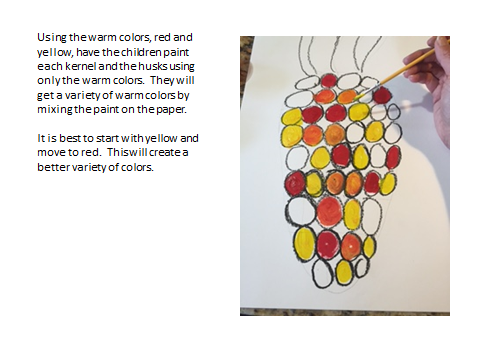
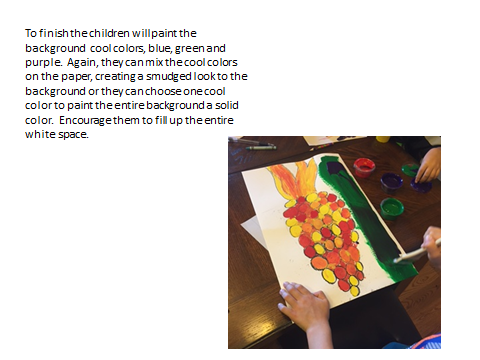
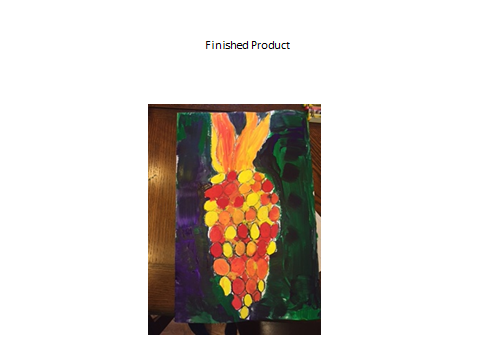
Warm and Cool Corn


Lesson Title: Warm and Cool Corn

Medium: Tempura Paint, Oil Pastels
Reason for Lessons: to introduce the idea of warm and cool colors
Elements of art: color, line, perspective
Class Time: 1 hour


Saturday, October 31, 2015

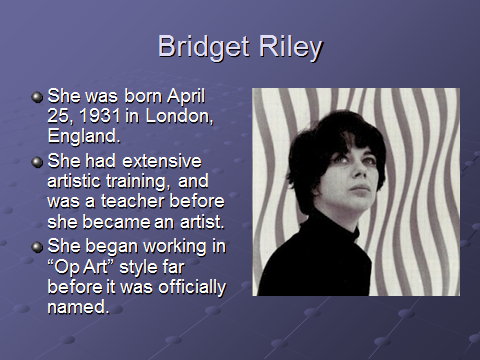
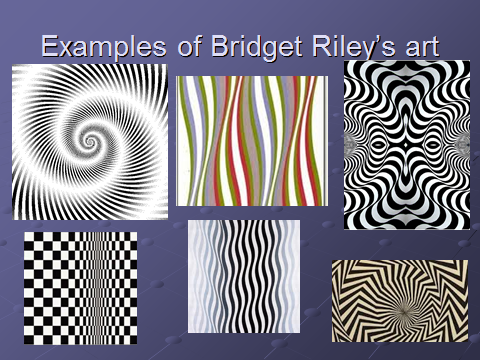
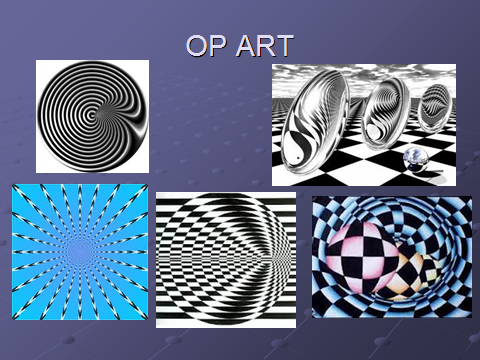
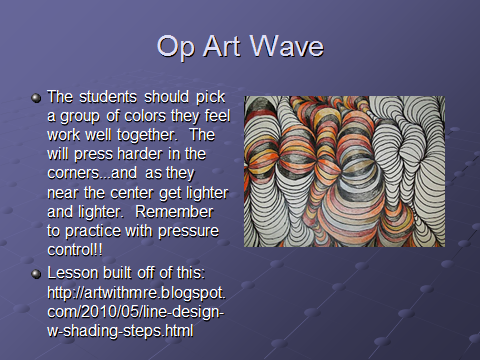
Op Art Waves

Lesson: Op Art- Waves with Bridget Riley

Reason For Lesson: To teach the concept of Op Art, pattern, color and shading

Supplies: Watercolor paper, thin black sharpies, colored pencils

Length of Lesson: 1 hour


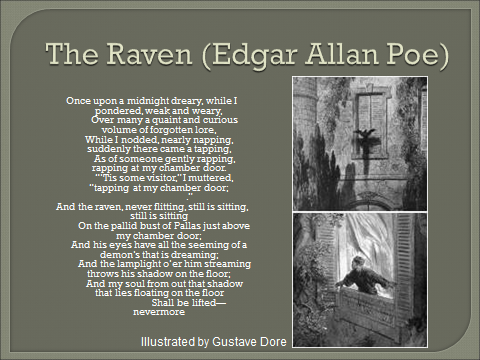
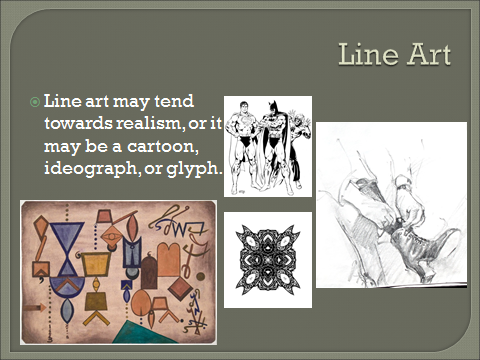
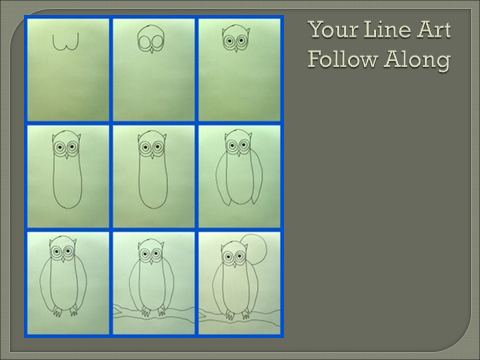
Owl Line Art With Patterns

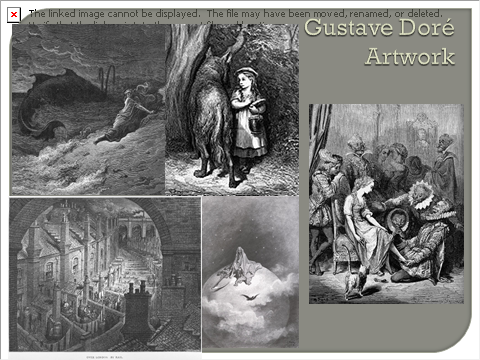
Lesson: Line Art with Gustave Dore

Reason for Lesson: This lesson explores the artwork of Gustave Dore and the concept of line art and patterns.

Medium: Pen and Ink
Supplies: Watercolor Paper and black sharpies

Project time: 1 hour


Wednesday, January 22, 2014

Wampum Belt/Bookmark...Storytelling with Beads

Wampum Belt/Bookmark...Storytelling with Beads


Wampum Belts are traditional strings of shell beads of the Native American Indians.  Strings and belts of wampums were used for storytelling, asking for marriage, used as a gift, used to declare war or peace between two groups, used as money, and also used, instead of writing, to record treaties or historical events.  With our 4th graders learning about the Native American Indians, this creative project gives a brief example of how this Indian art is made.  Following is the step by step process for making a small Wampum Belt...but in this case only big enough to be a bookmark.

In preparation for the class, beads were divided into separate bags...and in this case, each student received 5 colors, 20 beads of each color, with 100 beads total for the project.  Prior to weaving the project, each student laid out their design on a design sheet first.


or~


or~


Then prepare the loom.  Use ridge 2" by 12" cardboard, make slits on both sides to help hold the weaved yarn.  I also put a "start" marker on the loom so that the student would start the bead string in a spot for easy tie-off when complete.


Tape off tail in the back...


Wind yarn through slits and wrap around loom...


Secure with tape on backside...

Tie on loom string, the working string at start position...


Secure tail of this string with masking tape on back.  String should be plenty long to be able to tie off when beading is complete...


Start stringing beads.  Start with the bottom bead at row one...


Push beads down needle of thread and place under loom strings, EXCEPT for the bottom string...the needle should be over the bottom string like shown below.

Pull though.  Each bead should be separated by a string...


Then, pull needle though beads to secure.  Notice how the exposed needle is over the red thread.

Continue through the entire pattern of bead.  Again, starting for the bottom bead on the next row...

After stringing the beads, bottom rows will appear like this...

Top rows like this...

After rows are complete, wrap working string under loom strings and tie through loop as shown...


Tie off 2 or 3 times to ensure secured string.

When complete, will look like this...


Remember when you tied off the tail of the working string?  Unfasten the working strings tail and tie-off the other end.


Pull working string under loom as shown...

Pull the end of the string through loop and pull tight...


Will look like this when complete.  Repeat 2 or 3 times to ensure tight secure.

Lastly, cut off yarn at both ends of the loom, like shown...


When project is complete, Wampum Belt will look like the design student prepped on design sheet


These turned out really colorful and fun!