OVERVIEW
The students will learn about Brazilian born artist, Romero Britto, and his pop art style of art. The students will learn about color and pattern, and will then create their own pop art on inflatable soccer balls!
MATERIALS
“Colors Around the World” by Romero Britto
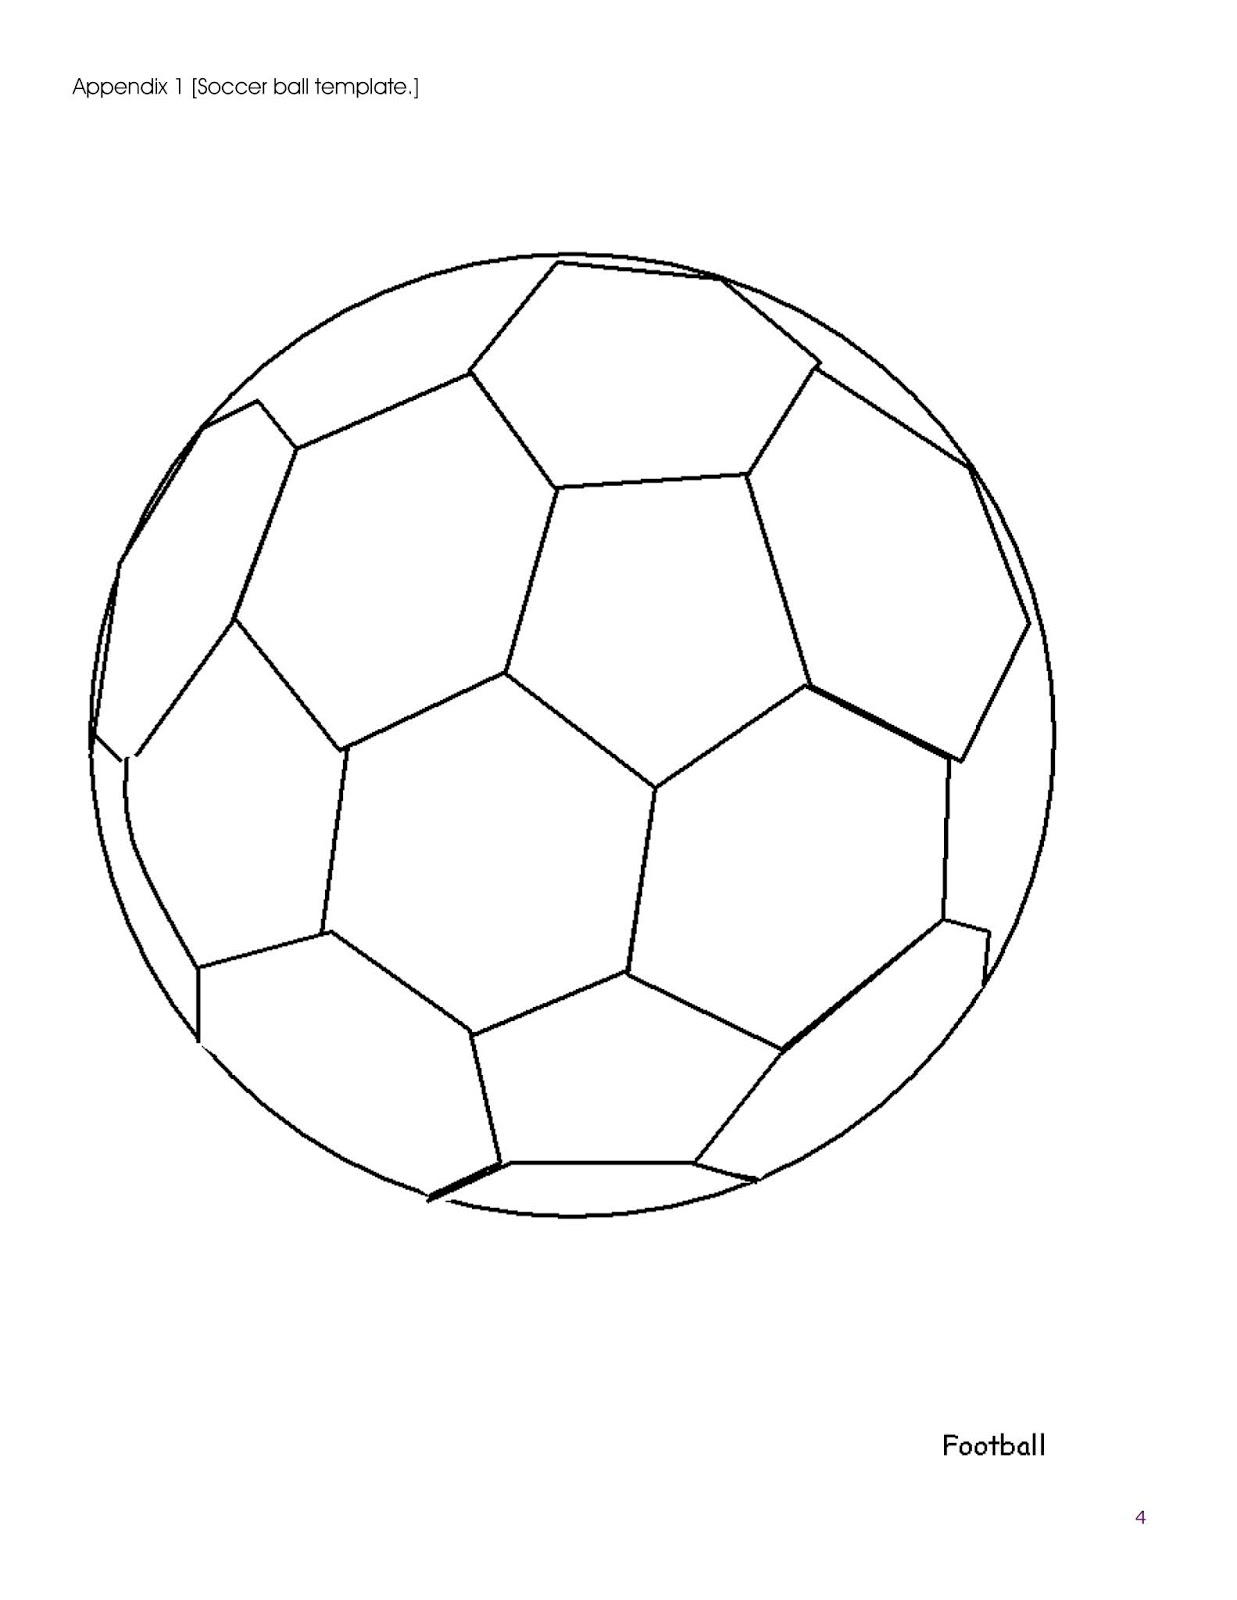
1 copy of soccer ball template for each student (below)
The World Cup country that you are studying is Brazil. It is located in South America and was the host country of the 2014 World Cup! We are going to learn about a famous Brazilian artist, Romero Britto, and then we will be re-creating his artwork on a soccer ball to commemorate World Cup 2018!
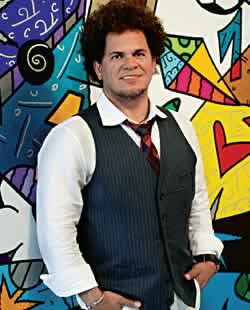
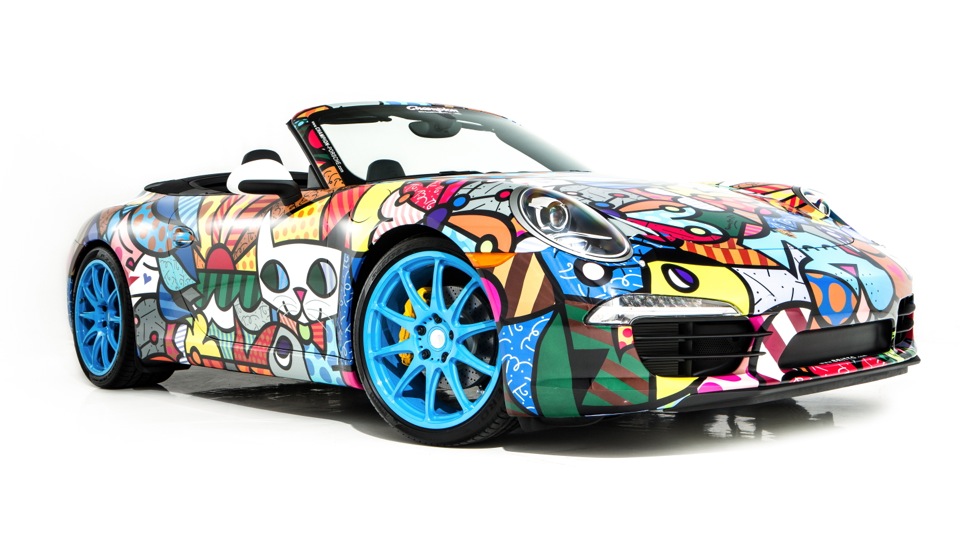
ROMERO BRITTO was born the 6th of October in Recife, Brazil. He displayed signs of being an artist at a very young age and he taught himself art by painting on newspapers. Britto is a respected pop artist who is known for his vibrant colors and elements of cubism. Britto's work has been exhibited in galleries and museums in over 100 countries, and his works sell for millions of dollars. Britto has created art for a number of corporations for their advertising, including a Britto car!
Aren’t those great cars?! What do you notice about them? What catches your eye?
Britto considers the role of an artist to be an agent of positive change. He serves as a benefactor, donating time, art and resources to over 250 charitable organizations and several boards such as Best Buddies International, and St. Jude's Children's Research Hospital. Romero is also an author of children's books:
Lesson.
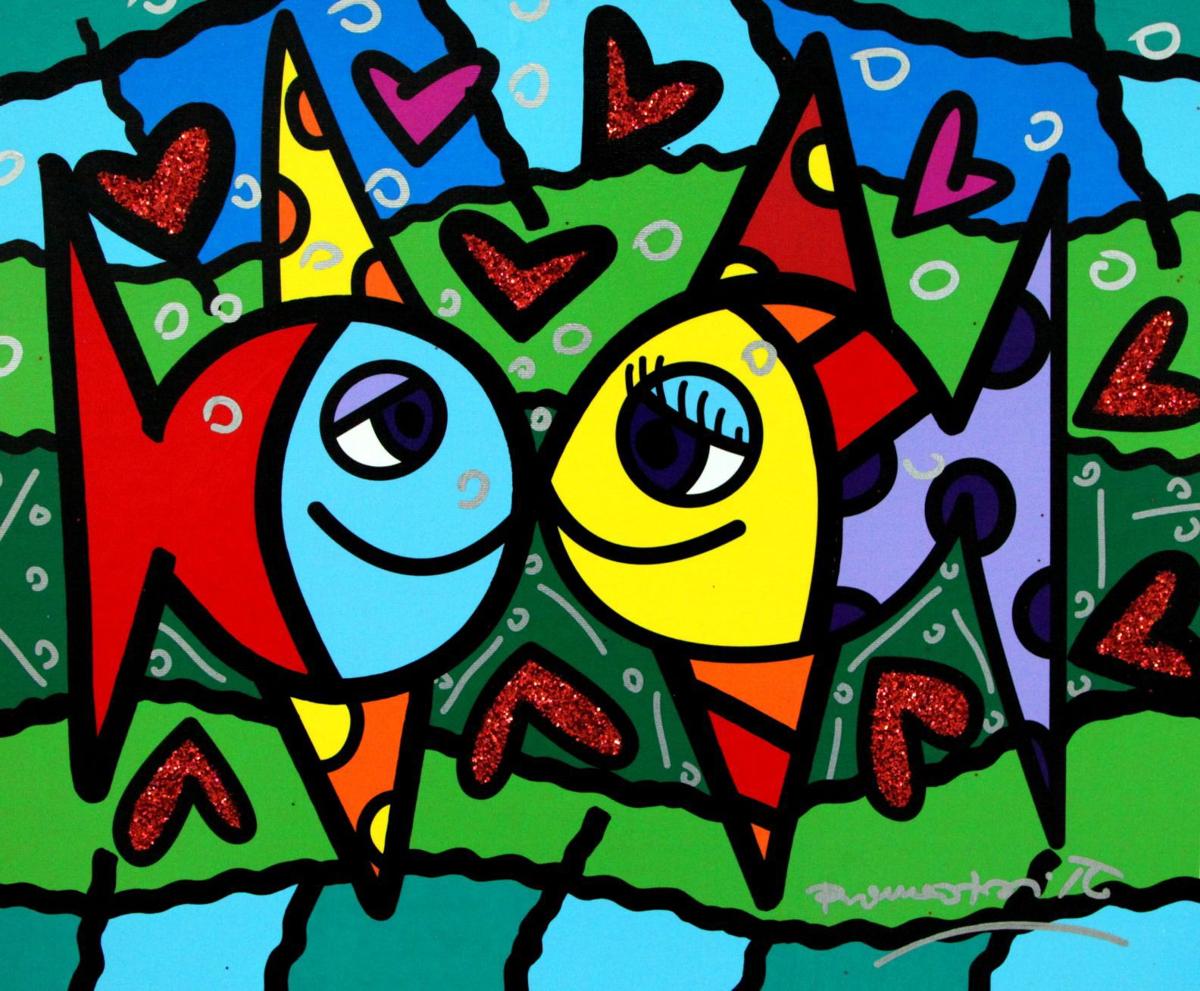
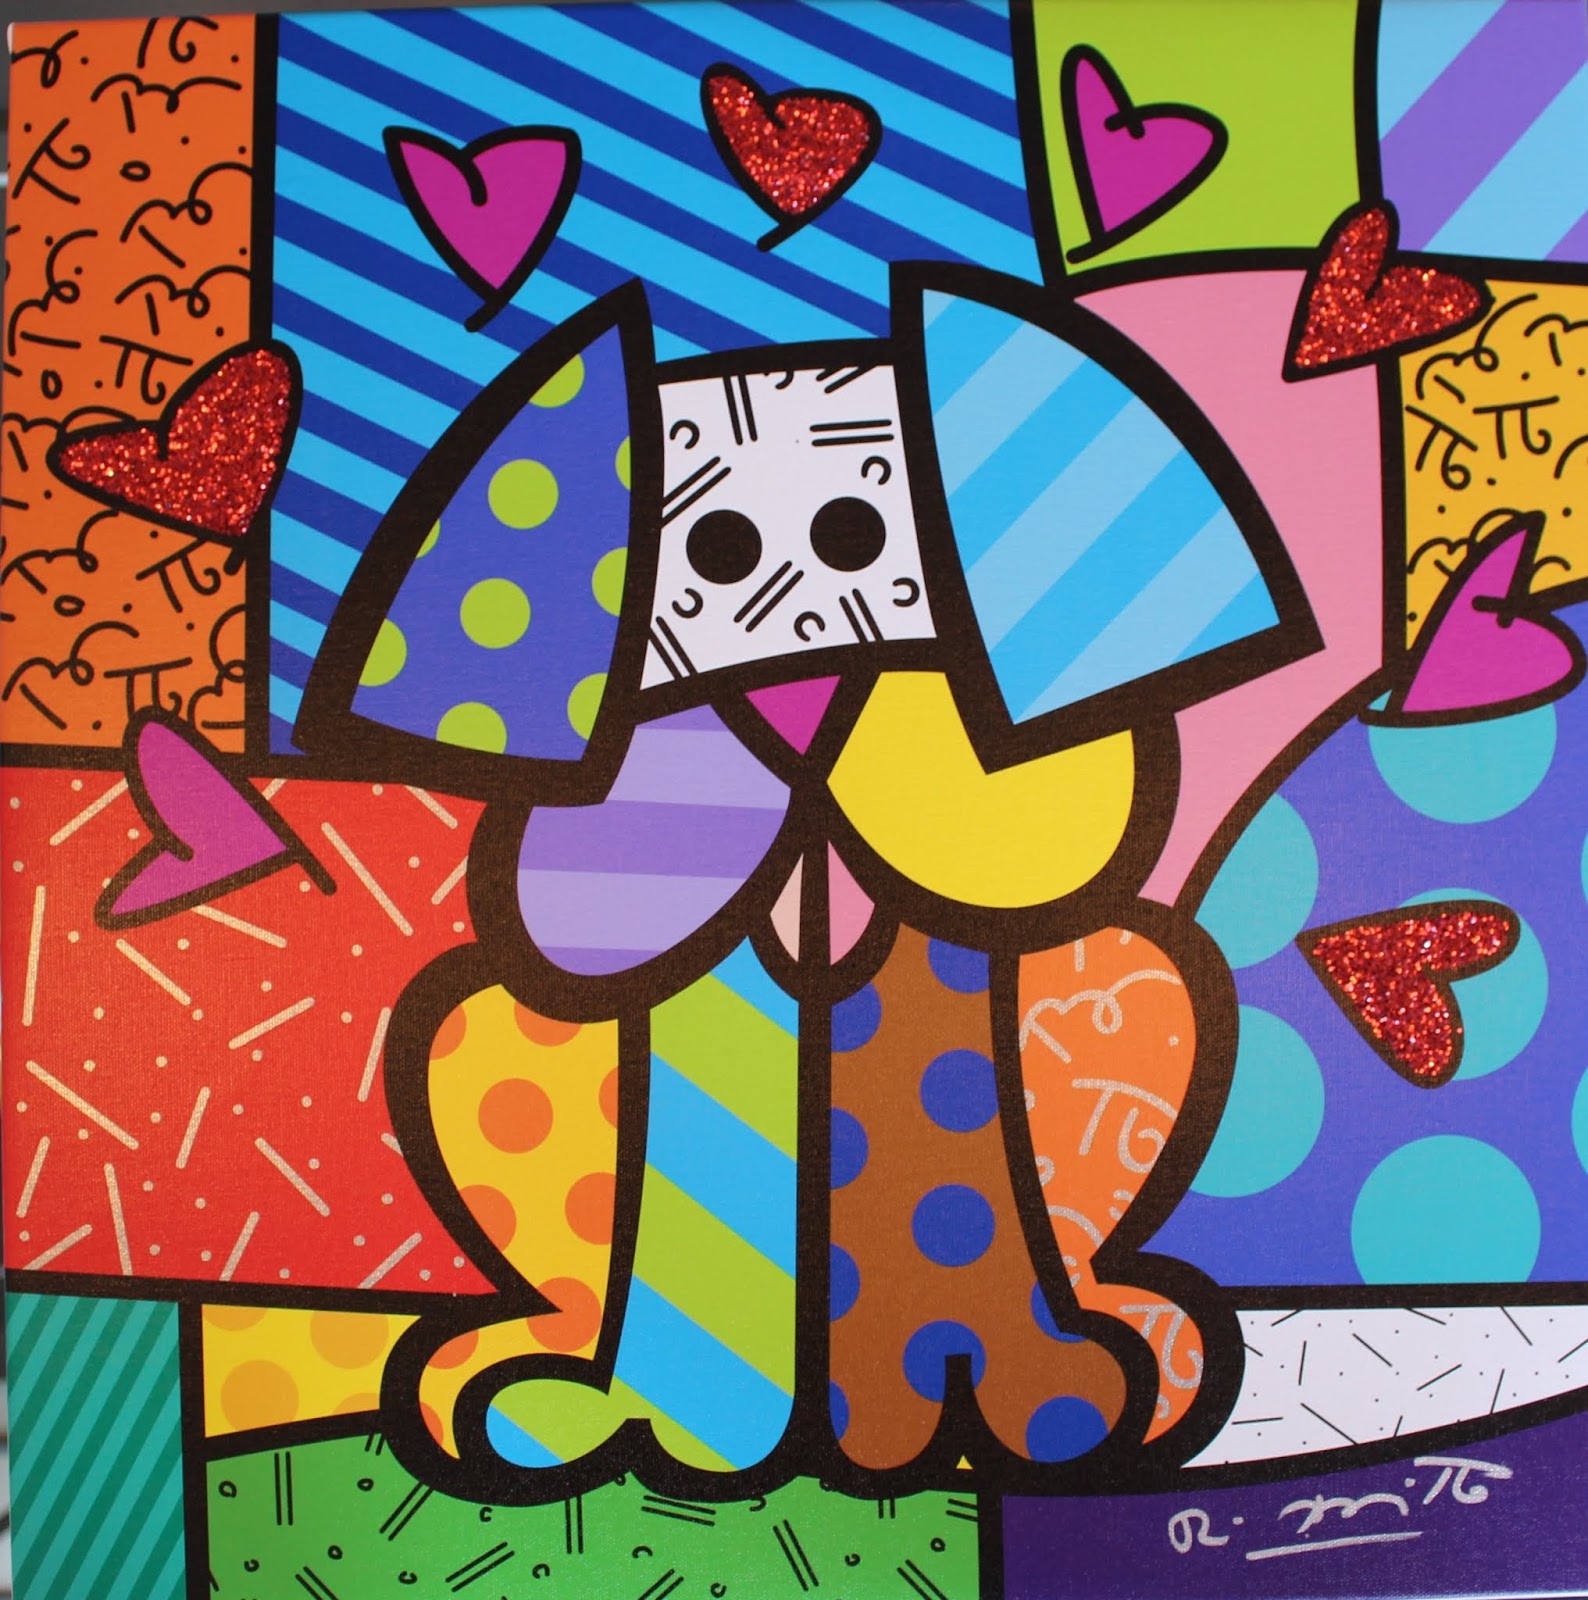
Let’s take a closer look at Britto’s art. Britto’s style of art is called “pop art.” Why do you think it’s called “pop art?”
Pop Art began in the 1950s, but became very popular in the 1960s. It started in the United Kingdom, but became a true art movement in New York City. Pop Art uses images that are popular in the modern world. This includes famous celebrities like movie stars and rock stars, commercial items like soup cans and soft drinks, comic books, and any other items that are popular in the commercial world. There are a number of ways that artists use these items to create art such as repeating the item over and over again, changing the color or texture of the item, and putting different items together to make a picture.
Let’s look a little closer at Britto’s art.
Britto creates patterns and dark, bold lines in his artwork, using bright colors. What makes something a pattern? How do the lines in the artwork help to break up a pattern? How do the colors work together in Britto’s artwork? [Show a few examples of patterns to get them started, and thinking outside the usual polka dots and stripes – stripes, squiggly lines, flowers].
Today we are going to create pop art on soccer balls using Romero Britto as our example. Look at the soccer ball – it has a pattern of hexagonal black squares already on it. We are going to fill in the white space with color and other patterns. But before we create on our World Cup soccer balls, we are going to use a printed soccer ball picture to get our ideas down on paper.
Pre-Prep. Inflate soccer balls with pumps while lead is completing the lesson and the artists are sketching.
Step 1. Hand out a soccer ball template to each student. Have the students pull out their colored pencils and start putting their ideas on paper. Give them about 10 minutes to draw and think about how they want their soccer balls to look. Have the Britto books and examples of art available for the students to draw inspiration from.
Step 2. When the students have completed their ideas, hand out an inflated soccer ball to each of them. The students will be using Sharpie brush and/or chisel markers to create the background of their designs. Encourage the students to use lots of colors – we want these soccer balls to stand out!
Step 3. After creating the background colors, have the students use black Sharpie markers to create their patterns. Patterns will be very important - encourage them to draw hearts, triangles, lines, etc. like Romero Britto! This isn't just coloring backgrounds, but making the patterns stand out!
Step 5. Make sure that the students sign their artwork!
Remember that our annual art show, MoMMA, will be next Thursday! We hope to see you and your moms (or special guest) at the Show!
Onto our lesson for today! ROBOTS!
Introduce the title, Boy + Bot by Ame Dyckman. Before reading the book, talk about some of the shapes that can be found on the cover (circles, rectangles, cones, ovals).
Read the story and discuss the book with the artists - themes of kindness and friendship.
Supplies:
8.5 x 11 cardstock in various "color wheel" colors
3" pre-cut circles in various "color wheel" colors (construction paper)
Clear CD cases
Elmer's glue
Ziplock Snack Bags
2 small nuts for each artist (I prepped these with the 2 each in the Ziplock bags)
Various metal pieces: Washers, paperclips (anything flat)
Straws, wood craft sticks, pom poms, buttons, craft flowers, etc.
Tissue and paper scraps (clean out the art cupboard)!
Black Sharpies - 1 for each student
Sharpies in various colors
Introduce the art lesson. Today we are making our own "mixed media" robots (lots of different kind of textures and supplies will be used to make our own unique robots)!
Before we begin, let's talk about color and the color wheel. What do we remember?
We know that in art there are WARM and COOL colors:
WARM and COOL colors are sometimes opposites on the color wheel, but not always. Take a look at my example robots. What colors are WARM and what colors are COOL?
We also know that there are PRIMARY and SECONDARY colors (remember "color math")?
By combining the primary colors, we get the secondary colors. This creates our color wheel!
In art, there are also COMPLEMENTARY colors. What do you think that means? COMPLEMENTARY colors are those that are truly opposite each other on the color wheel. The color pairs are thought to complement or harmonize with each other in pieces of artwork:
These are COMPLEMENTARY color pairs.
Let's get started on our robots. To make these truly unique, you are now going to choose a color for the background of your project. You may choose red, green, orange, blue, yellow or purple (various shades will be provided the artists). (Have the students raise their hands for the various colors and the art docents can pass them out). Now look at the color that you have chosen. You are now going to choose either a COMPLEMENTARY color for your robot's head or an opposite WARM or COOL color:
This is a COMPLEMENTARY color example - I used YELLOW and PURPLE - opposites on the color wheel.
This is an example of using WARM and COOL primary colors - red and blue.
Decide what color that will be and then raise your hand if you need red, green (docents, please hand out the complementary color for the robot's head. Go back to the slides above if the students need help deciding on their COMPLEMENTARY or opposite WARM/COOL colors. At this time, please pass out the glue and CD cases as well).
What shapes do you have in front of you? A Rectangle for the paper, circle for the head and square for the CD case. Let's add these SHAPES to our artwork!
First, let's add our robot's head to the very top of the paper (hot dog style) and glue it down:
Next, we're going to place our CD case on our paper, and make sure we know that it will open up as we lay it flat under our robot's head. Do not glue yet, just place the CD case on your paper so you know which way is up!
Close the cover and turn the case over. Add glue, and turn it back over and glue it down under your robot's head (they should overlap just a little bit so that it leaves room for your robot's legs)!
The glue will dry clear so don't worry about all the white right now. Using your Sharpie write your name down in the corner and add + Bot (we want your robot to have his name on there, too)!
Now you are welcome to go "shopping" for supplies for your robot! We have lots of fun stuff for you and your robot. We will give you a small plastic Ziplock bag to put your items in.
Just a couple of rules before we begin:
You will only receive two nuts for your robot. These can be used as eyes (like in my example) or bolts on the side of his head, like Bot. These are already in your Ziplock bag.
Please only take one or two of the items to start with - you can always go back for more, but we want you to use whatever you take so that we are not wasting anything or having to sort items back into boxes at the end. We also want to make sure that we have enough for all of our friends in the other 1st grade classes!
Start by decorating the inside of your CD case. These will need to be FLAT items so that the case will close. Do we want to add pom poms there? Our nuts? No, because then it won't close! The washers, paperclips, bands, tissue paper, some buttons, etc. all work well to decorate the inside of your robot and make sure that the CD case will close.
You are free to be as creative as you would like with your robots - these are your very own creation! Remember to add your robot's face, ears, hair. Also remember to add arms and legs (I used straws for my arms, and tape for my legs). There are also popsicle sticks that you can color for those, as well).
Add any finishing touches to your robots - shoes, hands, ears, hair! If you want to add a few items to the outside of the CD case, you can do that too (but make sure that we can see his insides with all your cool stuff inside the case)!
Please go set your robot creations at the back of the room with the CD case OPEN so that his insides can dry completely.
Yay! You've created amazing robots with COMPLEMENTARY or WARM/COOL opposite colors and using lots of different SHAPES!
Now let's meet some real-life robots, and find out what robots really are, and what they do for us every day!