Tuesday, October 16, 2012

Warm Pumpkin in the Cool of Night


Warm Pumpkin in the Cool of Night

Medium:  Tempura Paint

Reason for Lesson:  This lesson is a review on color; warm versus cool.  

Prep Time:  15-minutes
Preparation prior to lesson:  10-minutes
Class Time:  1 to 1.25 hour(s)

Materials: White 12x18 paper, small paint brush, large paint brush, pencil, Sharpie, water waste container, paper plate for paint, tempura paints - orange, yellow, green, blue, purple, brown.  

Instructions to Lead Lesson:  
Step 1:  Review primary (red, yellow, blue), secondary colors (orange, green purple).  Then review warm (red, orange, yellow) vs. cool (green, blue, purple)

Step 2: Using a pencil, Students draw freehand pumpkin slightly 3” off center on the 12x18 paper. 
Step 3:  Students may use a template if available. Or outline the shape of two circles and put a stem on top.
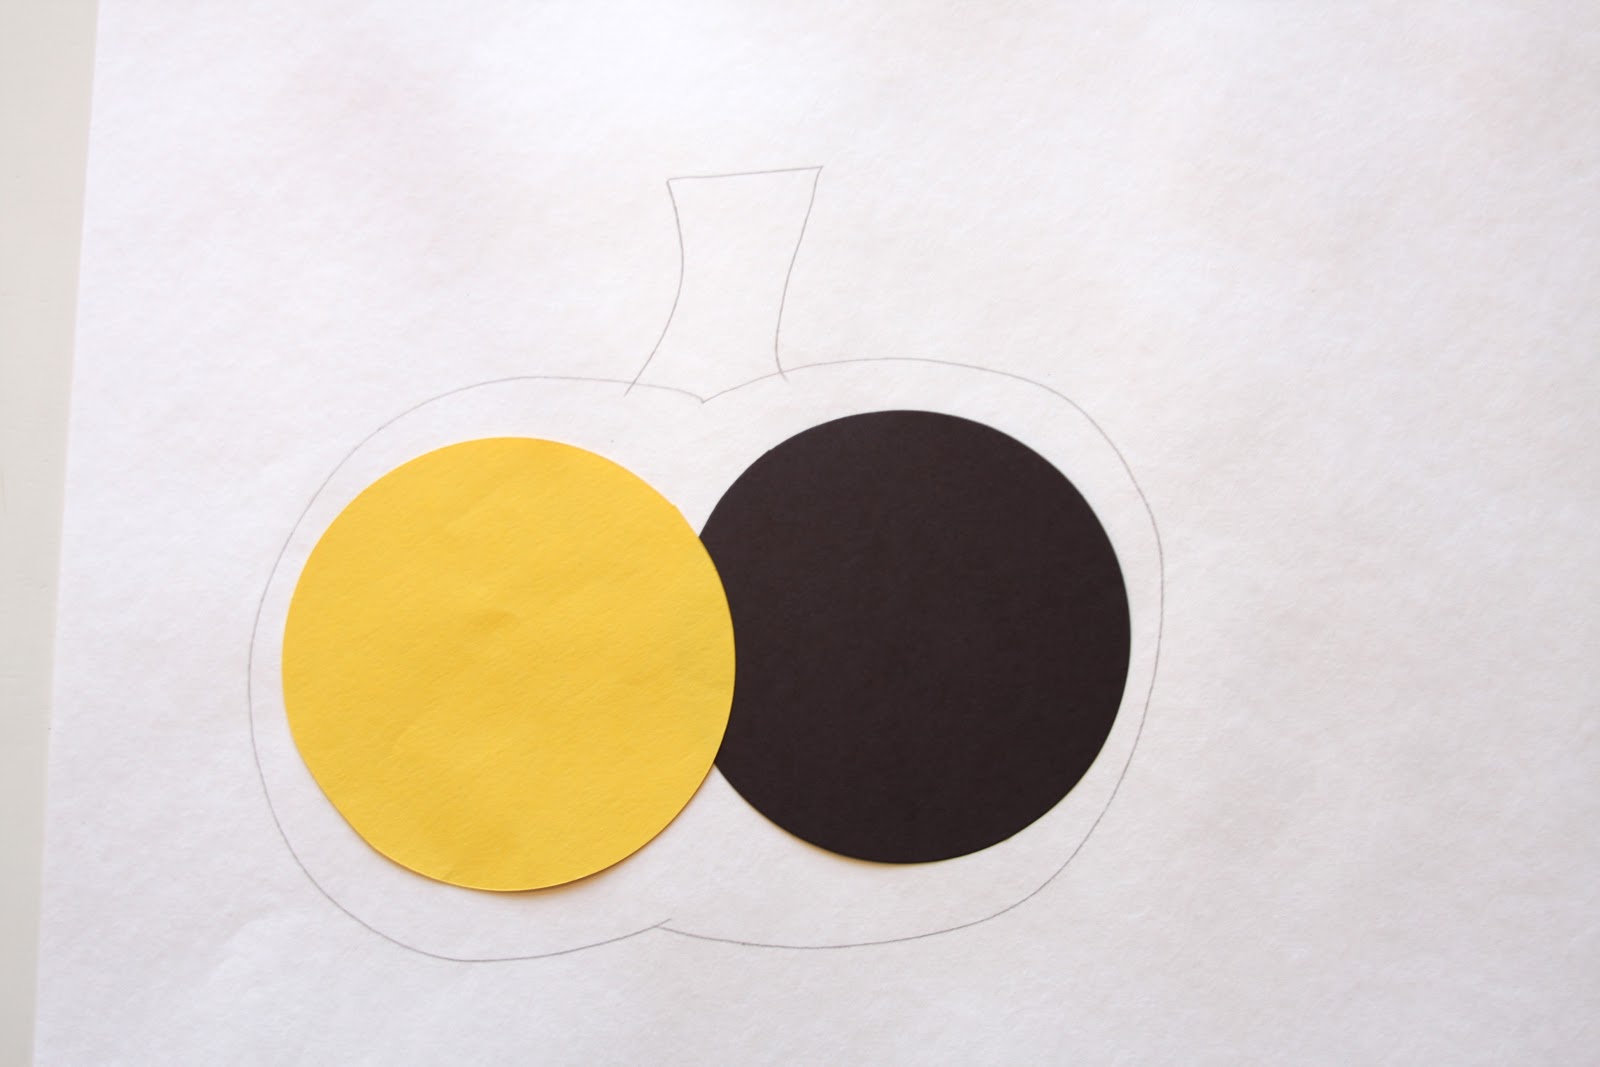
Step 4:  Draw a circle in the upper right corner.  From the circle in the upper right corner, draw circles throughout paper, going through the pumpkin image.  Lines should have about a 1 inch separation.  IMPORTANT:  If your students have limited art class time, suggest they make only 6-8 lines outside of the circle.  This will reduce the amount of paint time.

Will look like this when done...

Step 5:  Trace penciled outlines using a Sharpie.  Students may start painting.
  
Step 6:  Teach students how to use even thin strokes and not globs.  Also teach them to start it the top of their art so they don’t get paint all over their sleeves; they can also turn their art on the table to prevent getting it on their clothing.

This "Globbed" on paint will take a long time to dry, plus once it is dry it doesn't look good either.

Step 7:  Wait for painting to dry...should take about 15-minutes.  Then have students remark Sharpie outlines.

Then Done!!
Credit: Inspiration from Oodles of Art

Thursday, August 23, 2012

Art Lesson Plan Form

Art-a-Baloo ART LESSON PLAN is extremely important to the Art-a-Baloo program:

  • It gives the PTO and school administrators an account of what the program is doing
  • That same accounting helps back and re-enforce budgets requests, helps support budget increase inquires too!
  • It facilitate in supply and inventory issues
  • It helps re-create the 'art experience' for other students, in other classes, for years to come.
  • and lastly, it gives our visitors an idea of what the children are learning with the program and why it is so beneficial.    

The Art Lesson Plan  is located in the PTO office.  Please turn it in by emailing it to Artabaloo@gmail.com, or leave it in the Art-a-Baloo Folder in the PTO office and notifying the Art Docent Leaders it's there.  Also please be sure to notify Art Docents Leaders if you have NOT taken pictures of the projects, and email pictures if you have.

ART LESSON PLAN
(This portion of the Lesson Plan hangs in the wall as an Art Gallery Description)

Title of Lesson:  This will be the “Blog Title”

Docent:

Grade:

Teacher:

Date:

Medium:  Main Product used...colored pencils, oil pastels, water color...etc.

Reason for Lesson:  A brief description of principle of art (or element of art ( is being taught...what is the goal.  example:  Lesson was designed to create an understanding of   line and space, using the artwork from the Master Matisse.
Lessons should include one of the Elements of Art: Color, Line, Shape, Form, Texture and Space, especially for the primary-age students.  For the intermediate-age students, lessons may be more advanced studying the Principles of Art: Movement, Unity, Harmony, Variety, Balance, Contract, Proportion, Pattern and Rhythm.


(This portion of the Lesson Plan is for program accountability)

Label:  Color, Line, Shape, Form, Texture and Space or Movement, Unity, Harmony, Variety, Balance, Contract, Proportion, Pattern and Rhythm

Prep Time:  What about time does to take to be project-ready for the classroom
Preparation prior to lesson:  What do you do to prepare for the lesson?
Class Time:  What is the time it took to teach the project, start to finish.  If it was a multi-day project, please let us know.

Materials:  List every item used for the lesson...this is important for assignment reproduction and really important for supply closet and program budgeting.

Instructions to Lead Lesson:  Step by step instructions, or a brief summary.  If you used
PC’s Powerpoint or Mac’s Keynote presentations and you wish to share, they may be added to the blog...however, older versions prior to 2010 do not transfer.

Credit:  Was it an Art Attack lesson from our Library, or an internet, or some other...let’s give credit to those who deserve it.

Winter Birch Trees


Medium: Watercolor

Reason for Lesson: The students will learn how to use a paint brush properly and the forgiving aspects of watercolor.

Prep Time: 10 minutes to gather supplies.

Material: Watercolor Paper, watercolors, brushes in various sizes, sponges, white construction paper, scratch paper (for practice), scissors, black permanent marker (shapes) and glue stick.

Instructions to Lead Lesson:  
Instruct the students on the proper way to use a paint brush.  Instruct them on the forgiving nature of watercolor. 

Using a pencil, draw a very light horizontal line...straight or curved they are creating a horizon that will appear behind their trees.   Dampen paper with sponge, add sunset with watercolors using cool or warm colors above the horizon line. Blend the colors with a sponge.  Add a bit more color making 'clouds of color.  Practice painting fence on scratch paper.  Paint fence using watercolor...one stroke lines.  Cut birch tree truncks from white paper. Add dots and dashes with sharpie marker.  Outline fence with sharpie.  Mix a lot of water with black watercolor to create a light silver color.  Paint fence shadows...one line strokes...practice on scratch paper.  Glue birch trees on paper.  Add shadows to bottom of trees.  

Tuesday, August 21, 2012

What's your Name, Exercise in Line


Medium: Black Pens and Watercolor Markers

Reason for the Lesson: This is a line drawing lesson with a play on each students name. This lesson teaches how to make block letters and to think a bit outside the box.

Prep Time:  10 minutes to gather supplies and materials

Materials: Black Sharpies, Watercolor Markers (for the brilliant pop of color), white construction paper 24 x 18.

Instructions to Lead Lesson: 
Start with the first letter of your name and place it on the bottom of the page in a block letter format. This letter becomes the “foundation” of the pile.  Then, begin adding the other letters, not necessarily in spelling order, around, behind, in front and on top of the first letter. To help with flow, tell the children to turn their papers around.

Show the students how to add a letter behind another and in front of another. 

After the letters are piled high (repeating letters is encouraged!), fill in the spaces with patterns. It helps to have some sample patterns on the board to kick-start creativity.

Once the patterns (lines) are filled in, bring out the markers and let the children color in the letters. No color rules here: whatever color they chose is fantastic


After I show the students a sample, there is always one student who points out that their name is too short. I mean, what can you do with “Sam” or “Amy”? Lots, I say. It doesn’t matter how many letters the students use (first name, last name, both), layering and toppling the letters in a random, creative way is what its all about.  I suggest using all capital letters, as their are less round shapes, but that can be decided by the students.


Wednesday, May 23, 2012

Artist: Amedeo Modigliani


Medium: Oil Pastels

Reason for Lesson: To explore the artisit Amedeo Modigliani and to create a self portrait of themselves in his style. 

Prep Time: 20-30 minutes to find samples of his work to share with the class.  Read and understand  who the artist is and why he created art the way he did. 
How to Prep: Gather materials and study and learn about this artist.  Gather some of the artists own work to show the students on an overhead.  Create a sample of your own to share with the class. 

Materials: Oil Pastels and black construction paper

Instructions to Lead Lesson: 
As a class we discussed the artist Amedeo Modigliani, born in Italy he discovered his passion for art at the age of 11.  I think it's fun to point out that Amedeo was the students age when he developed his love of art!  

When Amedeo was 20, he moved to Paris where he grew as an artist.  He was known for painting and sculptures in modern style by mask-like faces and elongated form.    Amedeo had very little money, often trading his art at restaurants for meals.  In 1917 he created a painting of himself.  At the age of 36 he died of tuberculosis.  Within the last 10 years the paint he created of himself, sold at an action in New York for $68.9 million.  Within that time frame, an additional painting sold for $40 million.

Wednesday, February 8, 2012

Marc Chagall's - Peace Windows

Medium: Tissue Paper and Oil Pastels

Reason for Lesson: To learn and understand who Marc Chagall was as an artist and create artwork in his style.

Late in his career, artist Marc Chagall produced a number of paintings in glass, including the Peace Window in the United Nations World Headquarters. Created as a living memorial to all who had lost their lives in the cause of peace, Chagall’s colorful, dream-like images symbolize peace, love, tolerance and faith.

In reality, Marc Chagall’s life was filled with tragic events and the world he lived in was anything but peaceful. In light of this fact, students can begin to understand an artist’s ability to share healing, inspiration and encouragement.


Using “peace” as a theme, students create transparent paintings with floating imagery and Chagall-like colors. 


Prep Time: Including time to study about Marc Chagall's work this project takes about 1/2 to prepare.  

How to Prep:
View images of Marc Chagall’s paintings and glass. Recommended resource: Artists of the 20th Century: Marc Chagall DVD (70096-1010).  Cut tissue into 6" x 6" squares.  Use the following prompts for discussion and to generate ideas:  What are some of the symbols we use to show “peace”? (peace icon, dove, “V” with fingers, etc.)  What are some things you can think of that we say are “peaceful”? (a sleeping baby, a garden, a clear starry sky, a fish pond, a waterfall, etc.)  What are some things that you do that make you feel “at peace”? (reading, hugging, sleeping, drawing, etc.
Class Time: 1 - 1 1/2 hour

Materials: 8 1/2 x 11 paper, tissue paper in blue and green, liquid glue, oil pastel. 

Instructions to Lead Lesson: 
Drawing on their responses to these questions, students draw five or six images using crayons on colored tissue. Each image should have a solid crayon outline (this will act as a resist when the paint is applied). Cut around the images, turn them over and repeat the drawing so it is visible on both sides.

Open the laminating pouch and roll the top under so it stays open. Mix glue with a little water so it can be easily brushed onto the tissue paper shapes. Brush one side, stick it down on the laminating pouch, then repeat on the other side, applying glue so that it extends over the edges of the shape. Allow to dry.

Tear white tissue paper into pieces, approximately 4" x 6". Bunch a piece of the paper and apply it thickly to an open area on the pouch. Liberally brush clear water over the bunch, pressing it down with fingers to flatten and position around the image shapes. Apply tissue right up to, but not overlapping, the shapes.

Apply liquid watercolor directly onto the wet tissue and watch it bleed and flow randomly, picking up the For tight places, brush glitter watercolor around the shapes — it has a thicker consistency and will not flow as readily.

Continue to bunch and paint the paper until the surface of the pouch is covered. Allow to dry open overnight.

Using a regular household iron on a nylon or polyester setting, seal the pouch.

On both sides of the window, use a permanent black chisel-tip marker to draw a frame and outline the shapes. Look for lines forming in the tissue paper inside and trace them to form "lead" line

Wednesday, January 4, 2012

Snowmen at Night

One of our favorite art blogs, A Faithful Attempt, posted a project a few years ago for her 6th graders, and our art docent for a 3rd grade class taught it to our students.  The project speaks to the wide range of ability throughout various grades!  Using chalk pastels, students learn how to draw and shade snowmen being lit by the moonlight. It is a great example of color variation in the given light....cool tones with dark light, warm hues with brighter light.  The assignment is based on a beautifully illustrated children's book by Mark Buehner, "Snowmen at Night" 


Check out the entire lesson plan here: Snowmen at Night by blog writer, a Faithful Attempt

Here is some of our artfully awesome results: