Wednesday, October 24, 2012

Subway Art, OPI Style!


 OPI Subway Art

Medium:  Watercolor
Technique: Line and Space

Reason for Lesson:  This lesson will give the students an opportunity to reflect back on their experience at OPI.  This lesson provides each student with a keepsake from their experience at OPI.

Prep Time:  10-15 minutes

Preparation prior to lesson:  Collect materials…liquid watercolors, 8 ½ x 11 paper watercolor paper (no bigger). Students use their own ruler, black sharpies, pencil and clean erasers.  

Class Time:  1 ½   to 2 hours because of the two steps involved in the project.  Having an assistant in the class to help with watercolors will expedite the process. 

Materials:  Liquid Watercolors (multiple colors), watercolor paper, cups for holding watercolor, rinse cups/containers, black sharpie pens, pencil, ruler and clean eraser.

Instructions to Lead Lesson: 

Step 1:Show students several samples of modern day ‘Subway’ Art.  As a class,  discuss the characteristics of the art.   Point out large and small type…closeness of lettering…difference in print type, etc.  Show samples of the artwork they’ll be creating.  Emphasize that their art will look different because their experience was different.

Step 2: With the focus on their experience at OPI, help the students brainstorm words that described their experience.  Break the ‘list’ into two parts…what they experienced and what they learned. Write these words on the white board or on the overhead so they can reference them as they create their art.

Step 3: Instruct the students to ensure their paper is positioned in the vertical direction (short side on the bottom/top, long side of paper on the sides).  Using a pencil have the students draw two light lines (using a ruler) approximately 2 1/2 to 3  inches from each other in the center or off center on the page.   Instruct the students to draw capital letters… O P I using their pencil. For those students not attending OPI they can use the word ECOSYSTEM.


Step 4:  Instruct the students to draw light lines, using their ruler and pencil coming off of the focal word OPI (see below).  Instruct the students to select words (from the brainstormed words... their own) and place it on the line printing neatly. Then instruct the students to repeat the lines (vertical or horizontal) adding words until the entire page is filled with these brainstormed words.


Step 5: After the page is completed in pencil, instruct the students to trace over the words using black sharpies.   Once done, have the students erase any noticeable pencil lines (see below). 


Step 6: The final step, wash the paper with diluted watercolor paint.  Set a station in the classroom or in a pod outside the classroom where they can ‘wash’ their artwork with watercolors.  Using multiple colors let the students have complete artist freedom to add their watercolor.  Make some suggestions to get them started (i.e., vertical rainbow of colors, horizontal rainbow of colors, light ‘controlled’ splattering of paint, etc). 

Use the concept of LESS IS MORE and tell the students they have 2 minutes to ‘wash’ their art then place it in a location where the art can dry.

IMPORTANT TIP: The kids want to spend so much time blending and adding too much watercolor so it’s important to emphasis limited time and the LESS IS MORE concept. 

Credit:  Developed by Art Docent using the concept of subway art.


Thursday, October 18, 2012

Taking our Lines for a Walk - with Harold and the Purple Crayon


Taking our Lines for a Walk
Medium: Watercolor paint, Crayons
Reason for Lesson:  To introduce students to the concept of LINE and movement in art.  Lines can be wavy, thick, thin, curvy, parallel, etc.  Lines together create movement in art.  Education.com defines movement as repeated shapes, lines, or colors that are used in a work of art.
Prep Time: 15 minutes
Preparation prior to lesson:  15 minutes
Class Time: 1 hour
Materials:  The book Harold and the Purple Crayon, watercolor paper, watercolor paints, crayons, paintbrushes, paper towels.
Instructions to Lead Lesson:  Begin the lesson by reading the story "Harold and the Purple Crayon" to introduce the topic of LINE. Discuss how Harold uses lines to draw all sorts of pictures.  After the story ask the students to look around the classroom and see if they can pick out any "lines".  Take a few minutes allowing as many to participate as possible.
Tell the students that for today's art project they will be taking their lines for a walk, just like Harold. Show example of completed art project. Express to the students the importance of not scribbling so that the line can be seen. I make it very clear how important it is to listen to the directions. Teaching them one step at a time is very helpful for first graders :) Encourage them to do their “Best” work.
Step 1:  Have students use a black crayon to take their line for a walk around their paper. Remind them that the line is “walking” and not “running”.  This will help them take their time and not rush.
Step 2:  Color in the some of the circles and spaces with different colors of crayons.
Step 3:   Have the paint table set up for students to come up and choose ONE color to paint over their project. It's fun to see how the crayon resists the watercolor. This part of the project is where extra hands come in handy. I am planning on using the table in front of the classroom for painting. This way you can have control of the paint and one parent can sit and help the students at the table with painting helping to reduce the mess.
Step 4: use a paper towel to dab the extra paint off the completed project.  Since the crayon resists the watercolor paint, it will be quite wet.  Once their project is dry, have them sign their name "like an artist" on the bottom corner with a black sharpie.
Credit:  Our docent Katie L was inspired by the book Harold and the Purple Crayon and a project by Art Lessons for Kids

Tuesday, October 16, 2012

Warm Pumpkin in the Cool of Night


Warm Pumpkin in the Cool of Night

Medium:  Tempura Paint

Reason for Lesson:  This lesson is a review on color; warm versus cool.  

Prep Time:  15-minutes
Preparation prior to lesson:  10-minutes
Class Time:  1 to 1.25 hour(s)

Materials: White 12x18 paper, small paint brush, large paint brush, pencil, Sharpie, water waste container, paper plate for paint, tempura paints - orange, yellow, green, blue, purple, brown.  

Instructions to Lead Lesson:  
Step 1:  Review primary (red, yellow, blue), secondary colors (orange, green purple).  Then review warm (red, orange, yellow) vs. cool (green, blue, purple)

Step 2: Using a pencil, Students draw freehand pumpkin slightly 3” off center on the 12x18 paper. 
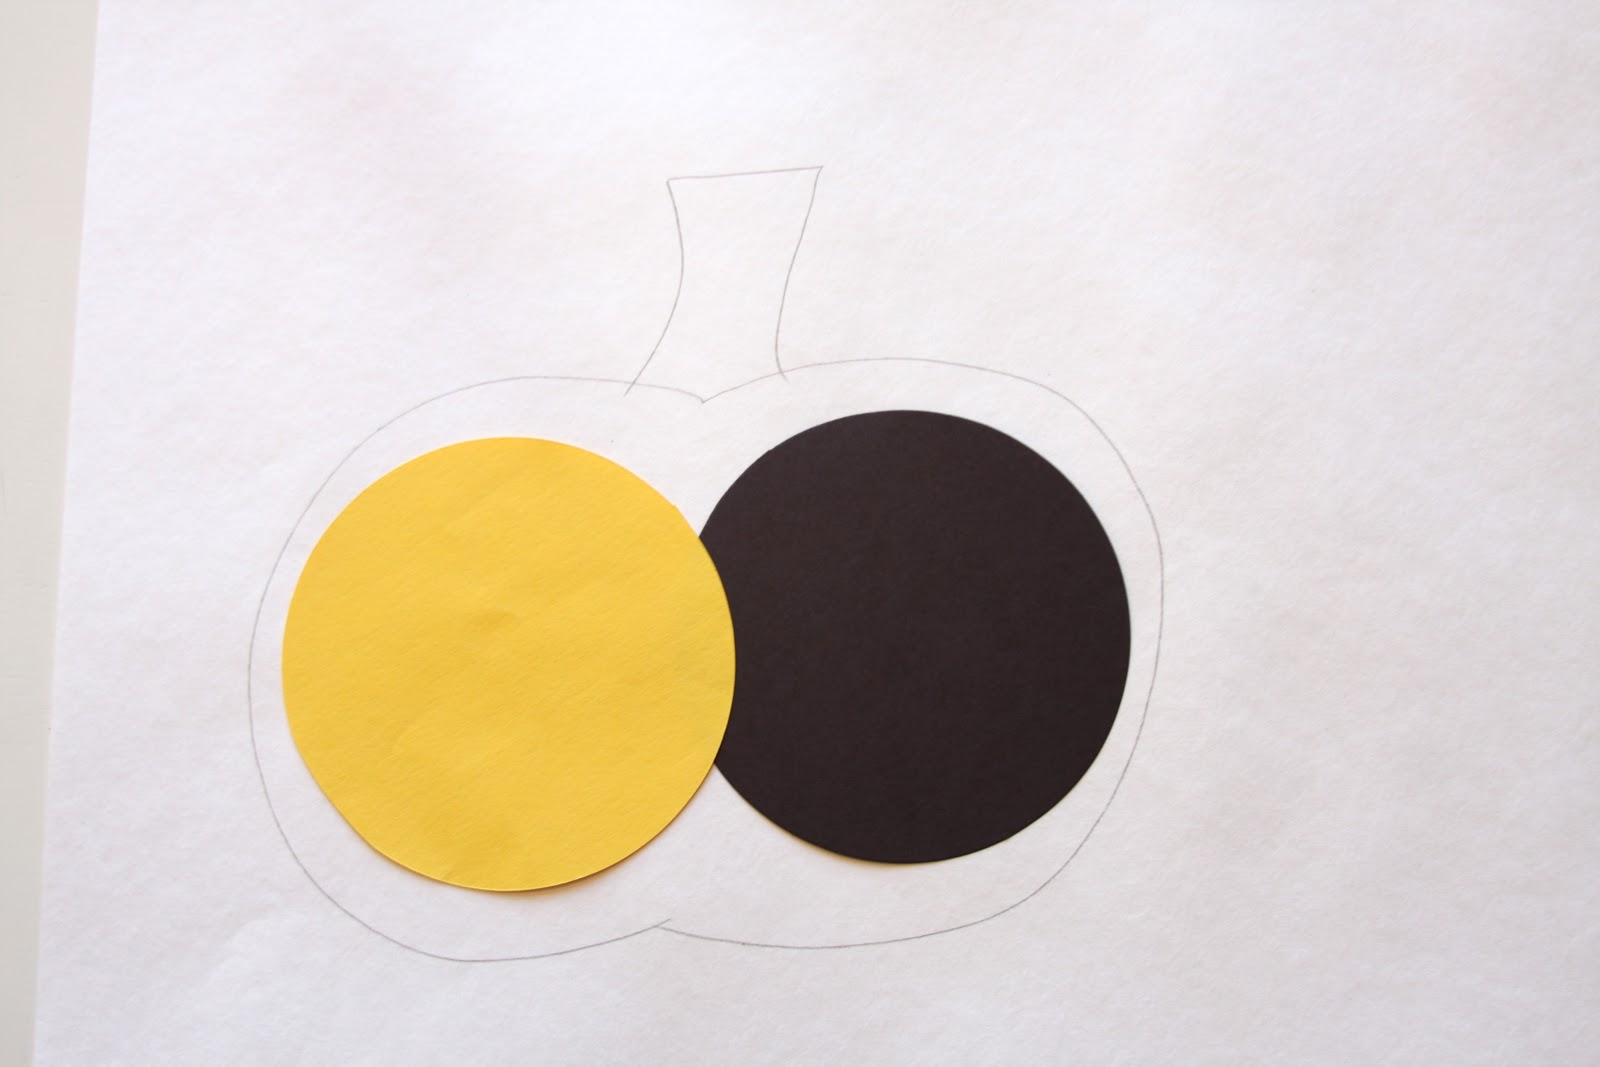
Step 3:  Students may use a template if available. Or outline the shape of two circles and put a stem on top.

Step 4:  Draw a circle in the upper right corner.  From the circle in the upper right corner, draw circles throughout paper, going through the pumpkin image.  Lines should have about a 1 inch separation.  IMPORTANT:  If your students have limited art class time, suggest they make only 6-8 lines outside of the circle.  This will reduce the amount of paint time.

Will look like this when done...

Step 5:  Trace penciled outlines using a Sharpie.  Students may start painting.
  
Step 6:  Teach students how to use even thin strokes and not globs.  Also teach them to start it the top of their art so they don’t get paint all over their sleeves; they can also turn their art on the table to prevent getting it on their clothing.

This "Globbed" on paint will take a long time to dry, plus once it is dry it doesn't look good either.

Step 7:  Wait for painting to dry...should take about 15-minutes.  Then have students remark Sharpie outlines.

Then Done!!
Credit: Inspiration from Oodles of Art

Thursday, August 23, 2012

Art Lesson Plan Form

Art-a-Baloo ART LESSON PLAN is extremely important to the Art-a-Baloo program:

  • It gives the PTO and school administrators an account of what the program is doing
  • That same accounting helps back and re-enforce budgets requests, helps support budget increase inquires too!
  • It facilitate in supply and inventory issues
  • It helps re-create the 'art experience' for other students, in other classes, for years to come.
  • and lastly, it gives our visitors an idea of what the children are learning with the program and why it is so beneficial.    

The Art Lesson Plan  is located in the PTO office.  Please turn it in by emailing it to Artabaloo@gmail.com, or leave it in the Art-a-Baloo Folder in the PTO office and notifying the Art Docent Leaders it's there.  Also please be sure to notify Art Docents Leaders if you have NOT taken pictures of the projects, and email pictures if you have.

ART LESSON PLAN
(This portion of the Lesson Plan hangs in the wall as an Art Gallery Description)

Title of Lesson:  This will be the “Blog Title”

Docent:

Grade:

Teacher:

Date:

Medium:  Main Product used...colored pencils, oil pastels, water color...etc.

Reason for Lesson:  A brief description of principle of art (or element of art ( is being taught...what is the goal.  example:  Lesson was designed to create an understanding of   line and space, using the artwork from the Master Matisse.
Lessons should include one of the Elements of Art: Color, Line, Shape, Form, Texture and Space, especially for the primary-age students.  For the intermediate-age students, lessons may be more advanced studying the Principles of Art: Movement, Unity, Harmony, Variety, Balance, Contract, Proportion, Pattern and Rhythm.


(This portion of the Lesson Plan is for program accountability)

Label:  Color, Line, Shape, Form, Texture and Space or Movement, Unity, Harmony, Variety, Balance, Contract, Proportion, Pattern and Rhythm

Prep Time:  What about time does to take to be project-ready for the classroom
Preparation prior to lesson:  What do you do to prepare for the lesson?
Class Time:  What is the time it took to teach the project, start to finish.  If it was a multi-day project, please let us know.

Materials:  List every item used for the lesson...this is important for assignment reproduction and really important for supply closet and program budgeting.

Instructions to Lead Lesson:  Step by step instructions, or a brief summary.  If you used
PC’s Powerpoint or Mac’s Keynote presentations and you wish to share, they may be added to the blog...however, older versions prior to 2010 do not transfer.

Credit:  Was it an Art Attack lesson from our Library, or an internet, or some other...let’s give credit to those who deserve it.

Winter Birch Trees


Medium: Watercolor

Reason for Lesson: The students will learn how to use a paint brush properly and the forgiving aspects of watercolor.

Prep Time: 10 minutes to gather supplies.

Material: Watercolor Paper, watercolors, brushes in various sizes, sponges, white construction paper, scratch paper (for practice), scissors, black permanent marker (shapes) and glue stick.

Instructions to Lead Lesson:  
Instruct the students on the proper way to use a paint brush.  Instruct them on the forgiving nature of watercolor. 

Using a pencil, draw a very light horizontal line...straight or curved they are creating a horizon that will appear behind their trees.   Dampen paper with sponge, add sunset with watercolors using cool or warm colors above the horizon line. Blend the colors with a sponge.  Add a bit more color making 'clouds of color.  Practice painting fence on scratch paper.  Paint fence using watercolor...one stroke lines.  Cut birch tree truncks from white paper. Add dots and dashes with sharpie marker.  Outline fence with sharpie.  Mix a lot of water with black watercolor to create a light silver color.  Paint fence shadows...one line strokes...practice on scratch paper.  Glue birch trees on paper.  Add shadows to bottom of trees.  

Tuesday, August 21, 2012

What's your Name, Exercise in Line


Medium: Black Pens and Watercolor Markers

Reason for the Lesson: This is a line drawing lesson with a play on each students name. This lesson teaches how to make block letters and to think a bit outside the box.

Prep Time:  10 minutes to gather supplies and materials

Materials: Black Sharpies, Watercolor Markers (for the brilliant pop of color), white construction paper 24 x 18.

Instructions to Lead Lesson: 
Start with the first letter of your name and place it on the bottom of the page in a block letter format. This letter becomes the “foundation” of the pile.  Then, begin adding the other letters, not necessarily in spelling order, around, behind, in front and on top of the first letter. To help with flow, tell the children to turn their papers around.

Show the students how to add a letter behind another and in front of another. 

After the letters are piled high (repeating letters is encouraged!), fill in the spaces with patterns. It helps to have some sample patterns on the board to kick-start creativity.

Once the patterns (lines) are filled in, bring out the markers and let the children color in the letters. No color rules here: whatever color they chose is fantastic


After I show the students a sample, there is always one student who points out that their name is too short. I mean, what can you do with “Sam” or “Amy”? Lots, I say. It doesn’t matter how many letters the students use (first name, last name, both), layering and toppling the letters in a random, creative way is what its all about.  I suggest using all capital letters, as their are less round shapes, but that can be decided by the students.