Wednesday, May 16, 2018

World Cup Art (Brazil): Romero Britto Inspired Soccer Balls

OVERVIEW
The students will learn about Brazilian born artist, Romero Britto, and his pop art style of art. The students will learn about color and pattern, and will then create their own pop art on inflatable soccer balls!

MATERIALS

  • “Colors Around the World” by Romero Britto
  • 1 copy of soccer ball template for each student (below) 
  • Pencils
  • Colored pencils
  • 1 inflated soccer ball for each student (orientaltrading.com) 
  • Pump
  • Colored Sharpie markers
  • Black Sharpie markers

Introduction. 

The World Cup country that you are studying is Brazil. It is located in South America and was the host country of the 2014 World Cup! We are going to learn about a famous Brazilian artist, Romero Britto, and then we will be re-creating his artwork on a soccer ball to commemorate World Cup 2018!

ROMERO BRITTO was born the 6th of October in Recife, Brazil. He displayed signs of being an artist at a very young age and he taught himself art by painting on newspapers. Britto is a respected pop artist who is known for his vibrant colors and elements of cubism. Britto's work has been exhibited in galleries and museums in over 100 countries, and his works sell for millions of dollars. Britto has created art for a number of corporations for their advertising, including a Britto car!




Aren’t those great cars?! What do you notice about them? What catches your eye?

Britto considers the role of an artist to be an agent of positive change. He serves as a benefactor, donating time, art and resources to over 250 charitable organizations and several boards such as Best Buddies International, and St. Jude's Children's Research Hospital. Romero is also an author of children's books:


Lesson.
Let’s take a closer look at Britto’s art. Britto’s style of art is called “pop art.” Why do you think it’s called “pop art?” 

Pop Art began in the 1950s, but became very popular in the 1960s. It started in the United Kingdom, but became a true art movement in New York City. Pop Art uses images that are popular in the modern world. This includes famous celebrities like movie stars and rock stars, commercial items like soup cans and soft drinks, comic books, and any other items that are popular in the commercial world. There are a number of ways that artists use these items to create art such as repeating the item over and over again, changing the color or texture of the item, and putting different items together to make a picture.

Let’s look a little closer at Britto’s art.
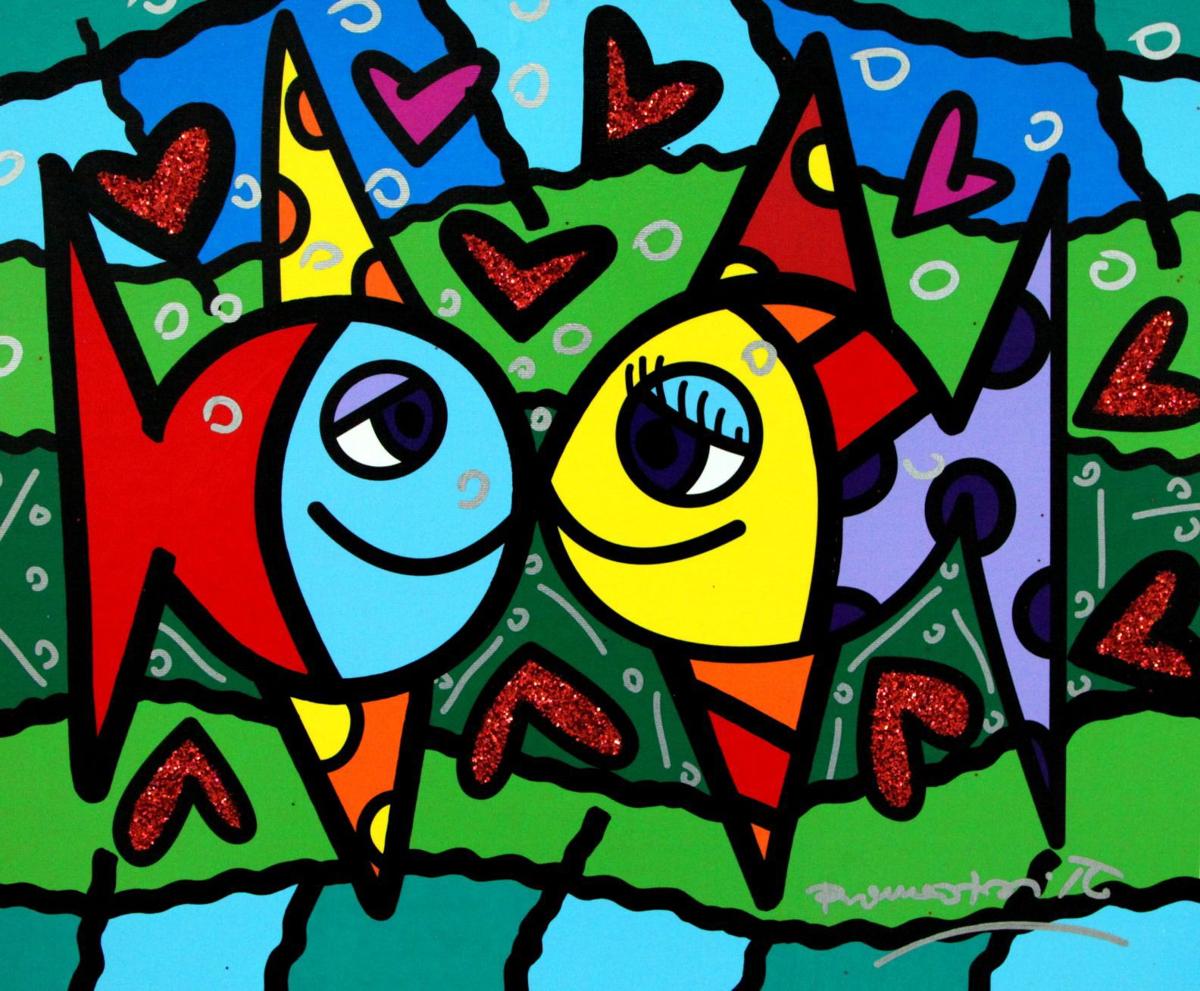


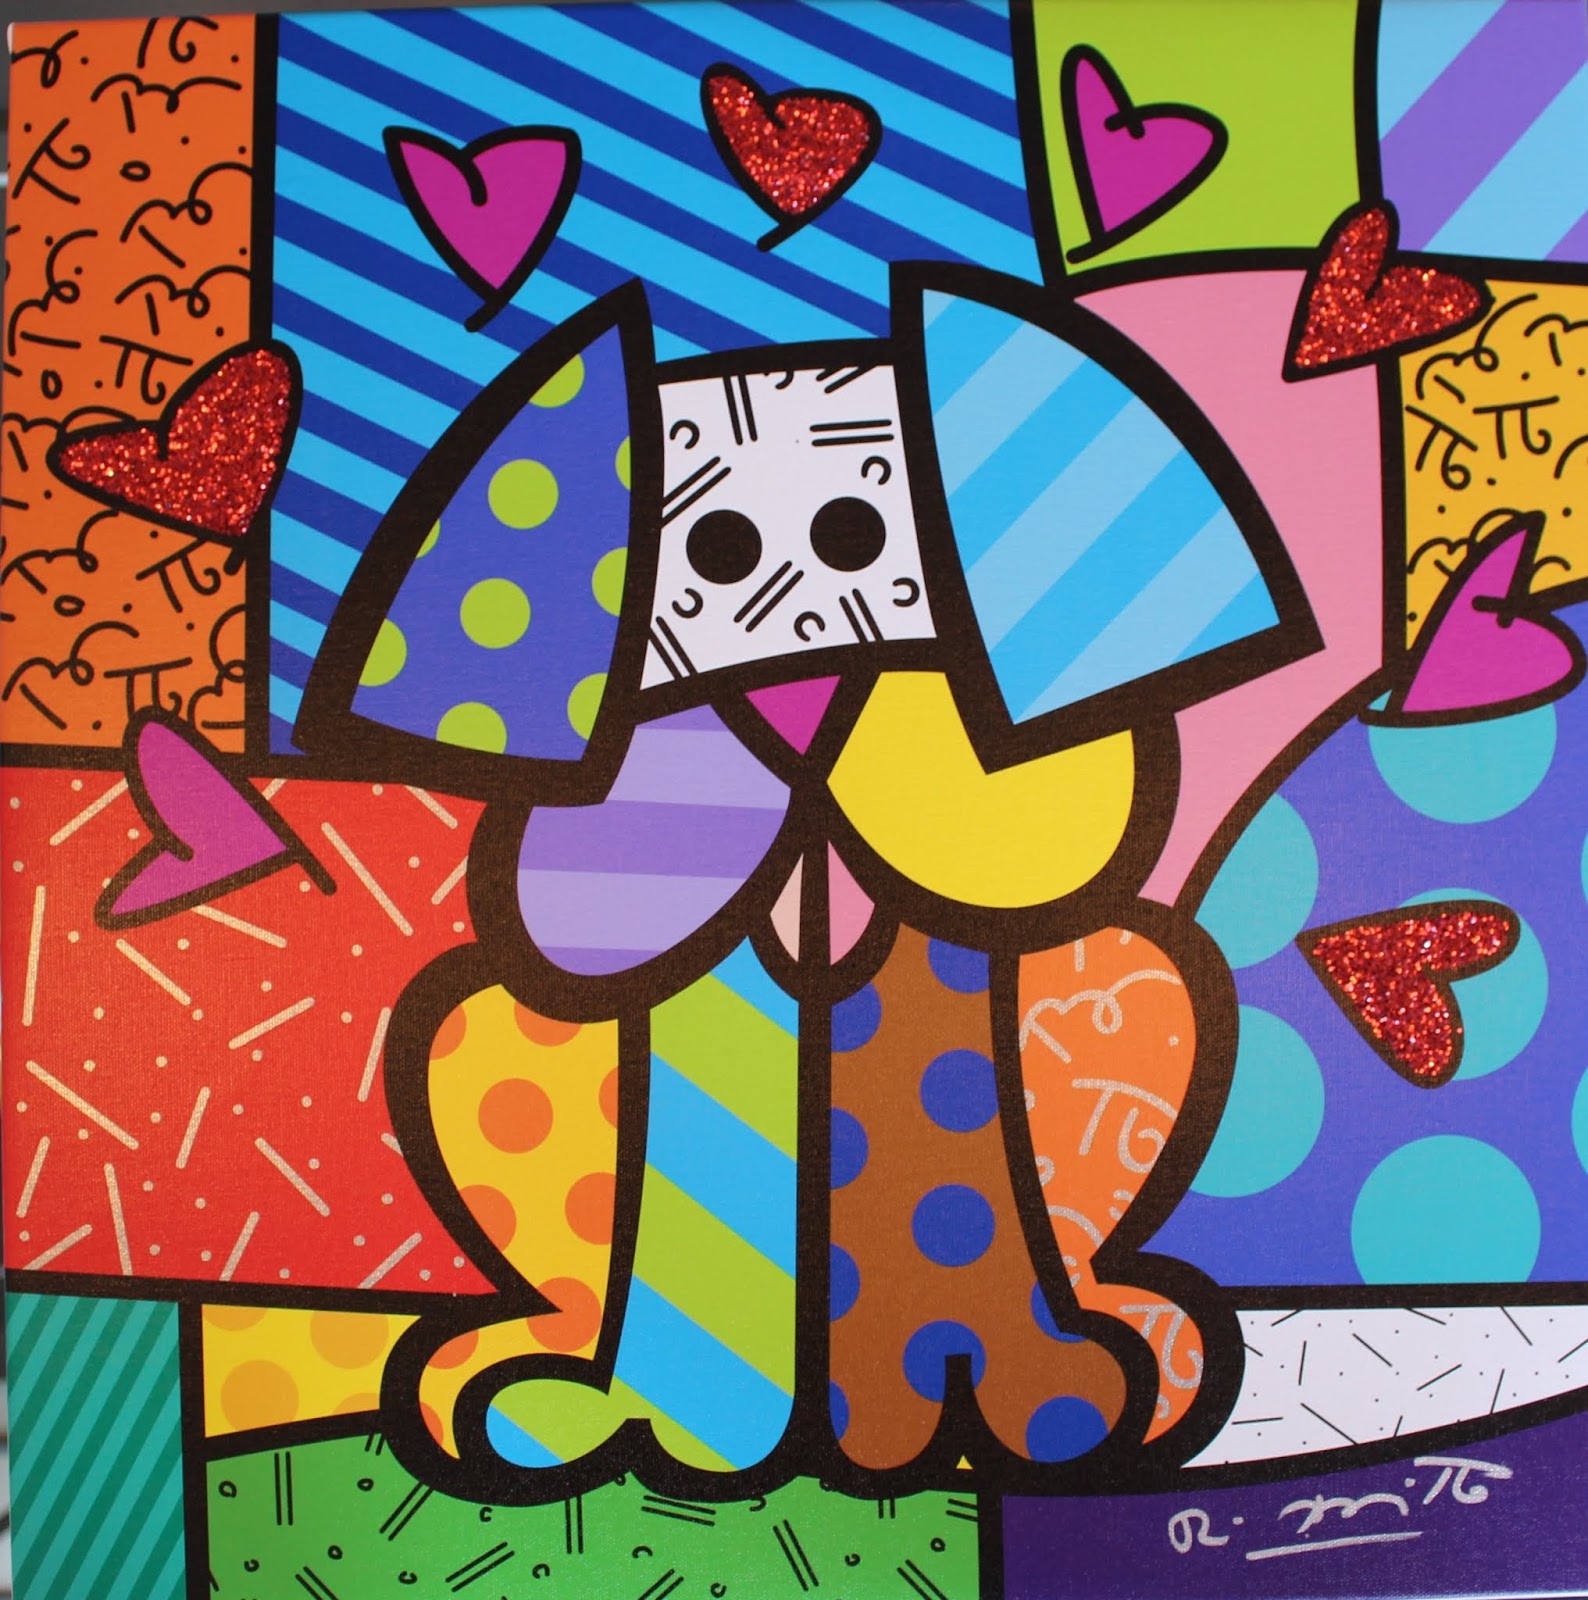
Britto creates patterns and dark, bold lines in his artwork, using bright colors. What makes something a pattern? How do the lines in the artwork help to break up a pattern? How do the colors work together in Britto’s artwork? [Show a few examples of patterns to get them started, and thinking outside the usual polka dots and stripes – stripes, squiggly lines, flowers].

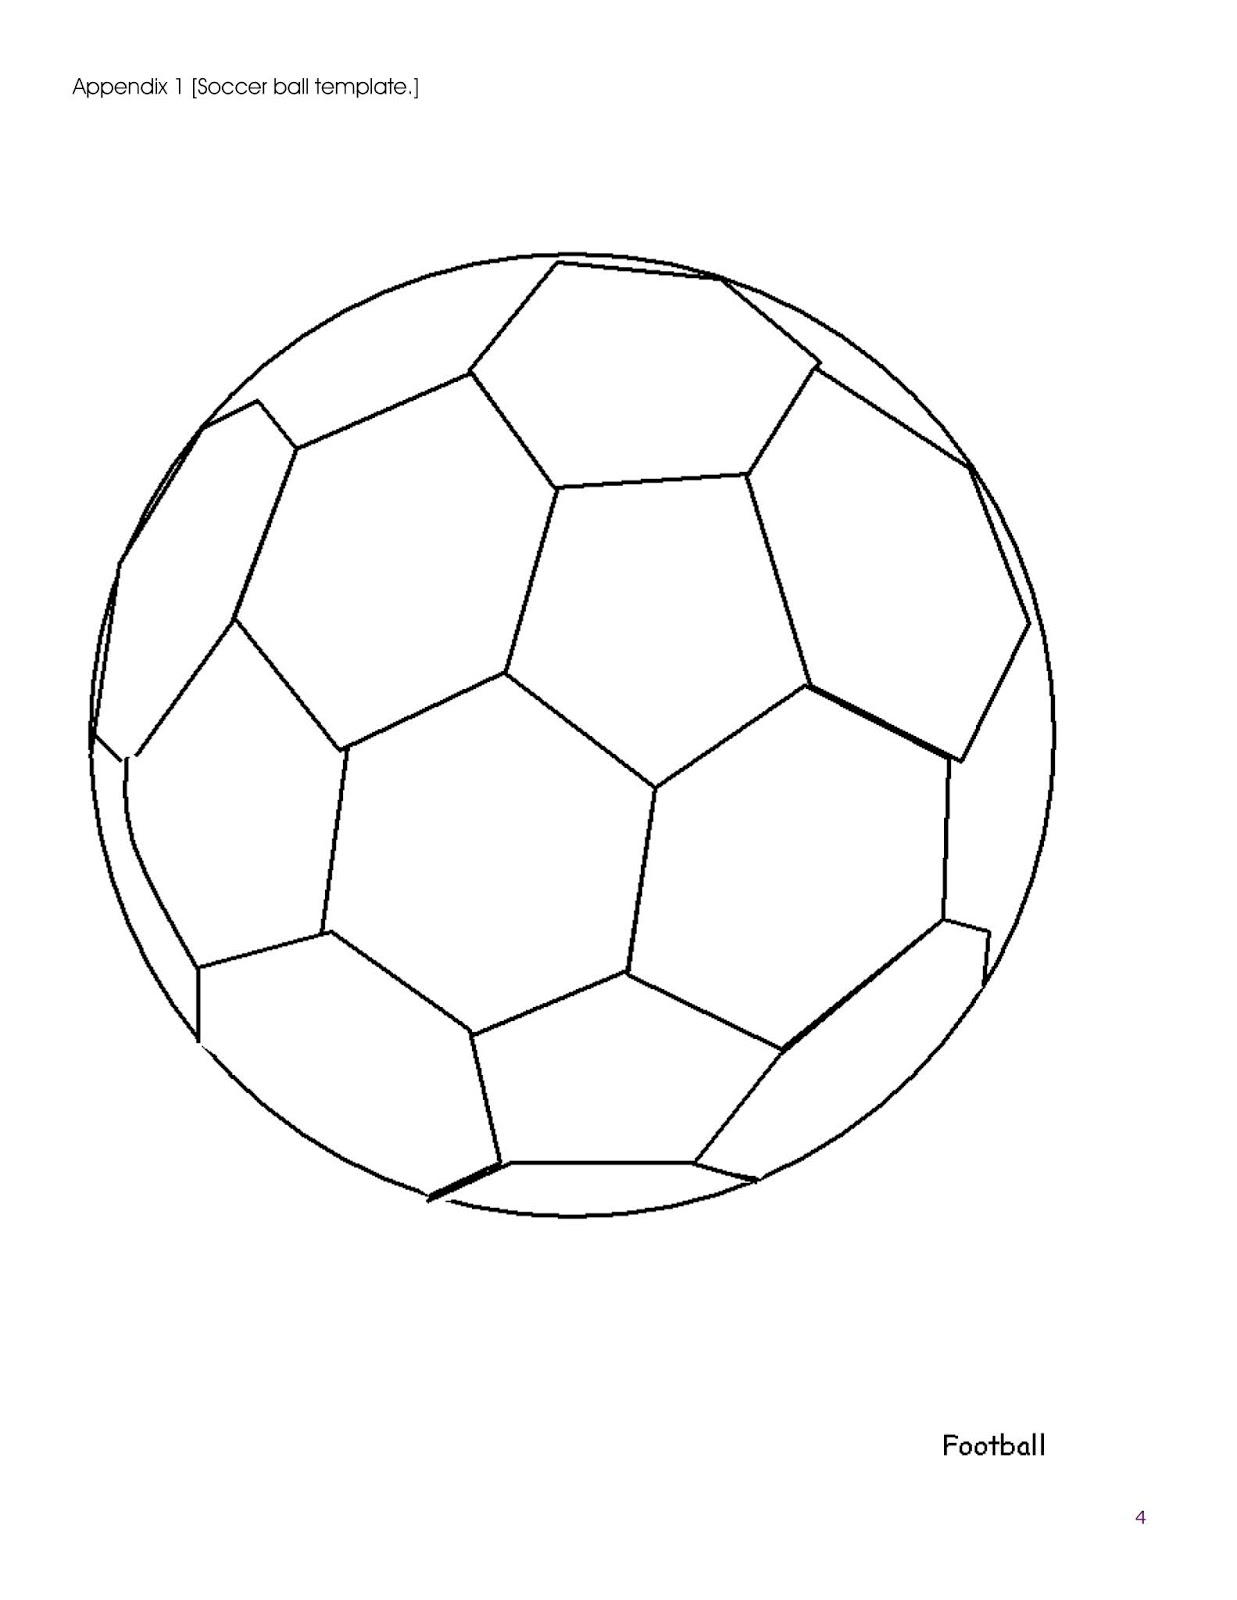
Today we are going to create pop art on soccer balls using Romero Britto as our example. Look at the soccer ball – it has a pattern of hexagonal black squares already on it. We are going to fill in the white space with color and other patterns. But before we create on our World Cup soccer balls, we are going to use a printed soccer ball picture to get our ideas down on paper. 


Pre-Prep. Inflate soccer balls with pumps while lead is completing the lesson and the artists are sketching.

Step 1. Hand out a soccer ball template to each student. Have the students pull out their colored pencils and start putting their ideas on paper. Give them about 10 minutes to draw and think about how they want their soccer balls to look. Have the Britto books and examples of art available for the students to draw inspiration from.

Step 2. When the students have completed their ideas, hand out an inflated soccer ball to each of them. The students will be using Sharpie brush and/or chisel markers to create the background of their designs. Encourage the students to use lots of colors – we want these soccer balls to stand out! 

Step 3. After creating the background colors, have the students use black Sharpie markers to create their patterns. Patterns will be very important - encourage them to draw hearts, triangles, lines, etc. like Romero Britto! This isn't just coloring backgrounds, but making the patterns stand out!

Step 5. Make sure that the students sign their artwork!


World Cup Art (Spain): El Raton Perez Toothbrush Painting and Letter

Credit: Adapted from "The Tooth Fairy Meets El Raton Perez" Curriculum Guide

OVERVIEW OF THE PROJECT
Most children in the U.S. are familiar with the Tooth Fairy, but children in Spain and Latin America grow up with a different tradition. In these regions, an adventurous mouse, El Ratón Pérez, collects children’s lost teeth from their pillows and uses them to build a rocket ship to the moon. The children will listen to René Colato Laínez’s charming book, “The Tooth Fairy Meets El Ratón Pérez,” where the two cultural legends clash when the Tooth Fairy and El Ratón Pérez both try to take young Miguelito’s lost tooth. They discover that by working together, they can accomplish each of their goals and become true friends. This magical tale introduces a celebrated Latino character to a new audience and provides a fresh take on the familiar childhood experience of losing one’s tooth. The students will then write a brief letter to El Ratón Pérez or the Tooth Fairy, and then complete a painting project.


Introduction. How many of you have lost a tooth? What are some of your family traditions when you (or your brothers or sisters) lose a tooth? [After the class discussion about family traditions, share information about how families around the world celebrate when a child loses a tooth – see below].

Most children in the U.S. are familiar with the Tooth Fairy, but children in Spain and Latin America grow up with a different tradition. In these regions, an adventurous mouse, El Ratón Pérez, collects children’s lost teeth from their pillows, exchanges the tooth for a small gift, and uses the teeth he collects to build a rocket ship to the moon. This year, since your class is studying the country Spain for our school’s World Cup competition, we are going to learn a little bit more about El Ratón Pérez and do an art project about teeth!

Read the story “The Tooth Fairy Meets El Raton Perez” by Rene Colato Lainez. 

After reading the story, discuss the following questions:
  • What do the Tooth Fairy and El Ratón Pérez have in common? What is different about how they collect lost teeth?
  • A conflict arises between the Tooth Fairy and El Ratón Pérez. What do they do to resolve the conflict? What is positive about how they solve the problem?

Now that we know a little bit more about the Tooth Fairy and El Ratón Pérez, we are going to do two different pieces with our art projects today. The first will be tracing and painting a tooth onto our construction paper. Then, while those dry, we will be writing a friendly letter to the Tooth Fairy or El Ratón Pérez. Be thinking about what information you would like to know about how these tooth collectors live and do their job. 

Supplies: 
  • 12x18 sheets of construction paper (various colors).
  • 10-15 copies of the Tooth Template (copy onto cardstock and cut out) - Appendix 2 (below)
  • Pencils
  • Toothbrushes - one for each artist
  • Small bowls 
  • Elmer's Glue
  • Shaving cream
  • Color copies of Letter Template (copy onto cardstock) - Appendix 3 (below)
  • Scissors
  • Glue Sticks


Step 1: Have the students choose a piece of 12x18 construction paper in their favorite color. Place the sheet with the 18” side as the top/bottom, and the 12” side as the left/right. Using the template, have the students lightly trace the tooth onto one side of their sheet of paper (either left or right) leaving room on the other side to attach their writing. Have the “paint” mixed prior to beginning the lesson (mix equal parts of shaving cream and Elmer's glue for the children to use – it will puff up when dry). 

Step 2: Have the students dip their toothbrush into the shaving cream and Elmer’s glue “paint.” While the students are painting, talk about how teeth are rounded and curvy, with different textures – the paint will help imply the texture of teeth in our art project. It’s also important, just like in using a real toothbrush when you brush – to get the “toothpaste” (paint) and brush all over the tooth!


Step 3: When the students are done “brushing,” have them clean up and head back to their seats for the writing portion of the project. This will allow the projects time to dry before adhering the writing to the other side of the project.

Step 4: For the writing portion, have the children write to either the Tooth Fairy or El Raton Perez and ask them what information they would like to know about how these tooth collectors live and do their jobs. 

Once they are ready to write their final draft, hand them the sheet from Appendix 3, have the students cut it out, and in their best handwriting, have them write their friendly letter. 

Once the projects are dry (or nearly dry), have the students adhere their letter to the tooth art. If time allows, they are welcome to decorate their letters with drawings of the tooth fairy and/or El Ratón Pérez.

For reference only: The tooth template and the friendly letter should both be cut out prior to adhering them onto the 12x18 construction paper. Thank you!


Lost Tooth Traditions from Around the World.

Use a map or globe to indicate each country as you review the various traditions with the students.

AUSTRIA: Lost baby teeth are often made into a pendant or a key ring.
FRANCE: The lost tooth is placed under a pillow when the child goes to bed. A fairy takes it while the child is sleeping. The tooth is replaced with a small present, never money.
HUNGARY: The lost baby tooth is put into a bottle with water and left there to melt over time.
JAPAN: If the lost tooth is a lower tooth, the tooth is thrown over the roof. If the lost tooth is an upper tooth, the tooth is thrown under the door of the house. This is done to help the upper teeth to grow downwards and the lower teeth to grow upwards.
UNITED KINGDOM: The lost tooth is placed under a pillow when the child goes to bed. A fairy takes it while the child is sleeping. The tooth is replaced with coins or money.
COSTA RICA: The lost tooth is plated in gold and worn as jewelry, often as earrings.