

Supplies:
Watercolor Paper
Pencils
White Oil Pastel
Liquid Watercolor - Warm Colors (Red, Pink, Yellow, Orange)
Liquid Watercolor - Cool Colors (Turquoise, Blue, Purple, Green)
Paint Brushes
Salt Shakers with Salt
Instructions:
Watch this video on jellyfish, paying particular attention to their heads and tentacles:
Pass out the papers, having the students write their names on the back in pencil. We will first complete a guided draw of the jellyfish (have the students lightly draw with their pencils). They can draw one large one or no more than three smaller ones here and there on their papers. We will then paint them using warm and cool colors.
1. Draw the main body of the jellyfish (it looks like a turtle's shell):

2. Draw the first two tentacles:

3. Draw the third tentacle:

4. Add some detail to the head:

5. Add more tentacles:


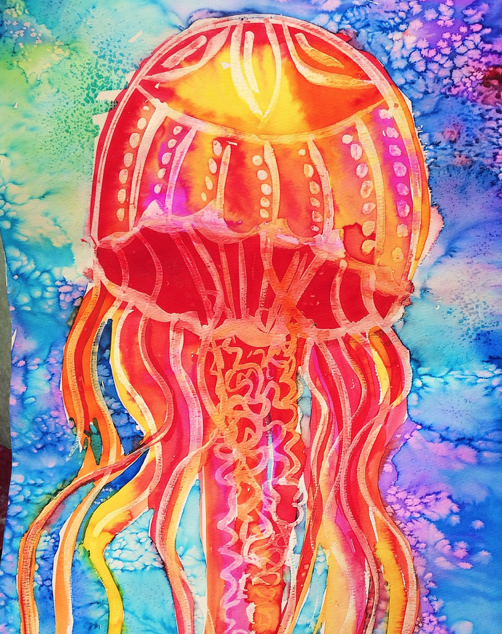
9. Once the body of the jellyfish has been painted, carefully add water around the outside background of the jellyfish (the "water"). Again, add a couple of drops of the different colors but DON'T blend the colors too much - we want to see every color (not a muddy mess)! Take a look at the sample above.
10. Working quickly, add salt to the background and let dry (this might need to be done one table at a time due to the number of shakers). The watercolor paper soaks up water quickly so have the artists paint and shake as they go!
11. Once complete dry, carefully remove the salt.

12. If time allows, you can watch this additional video on these amazing creatures!


