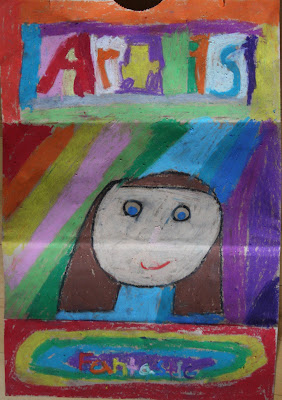
Tuesday, August 20, 2013

Walk Like an Egyptian


Egyptian Art


Reason for Lesson:  To provide a lesson that supports the 6th grade curriculum.  Nutcracker. This lesson is about lines, measurement and proportion and uses the same concept used in the Nutcracker lesson.   

Class Time: 1 1/2 to 2 hours. Lesson can be started to with folding and drawing of the lines.  

Prep for Lesson: Create your own sample to show in class.  

Materials:  Large size paper 18 x12 or 8 1/2 x 11, ruler, pencil, eraser, black sharpie, scissors, oil pastels/water color markers or another medium that provides brilliant color option. 

Instructions to Lead Lesson: 
Look at samples of Egyptian art.  Show pictures of head shots of Egyptians. 

Discuss the flatness of the art.  Look at the detail.  Notice how large the eyes are in relation to the nose and mouth.  Point out the heavy makeup used in the artwork.  Look at the detail in the head pieces. 

Start by folding your paper 'hamburger' style in half.  Then fold each end into the center, creating 4 sections with three folds.  Label each section lightly with a pencil (1,2,3,4)  beginning at the top.  Doing this provides for easy instruction and reference to each section. 

Before you begin instruction, notice how the face is broken down into 4 areas.  Area #1 contains the hat/hair. Area #2 contains upper part of the nose, large eyes and half of the ears. Area #3 contains the mouth.  Area #4 is the chin neck and shirt. 

Begin in area #1 and instruct the students to create line for the hat/hair.  Continue on to the forehead and nose in area #2.  Continue on in area #3 with the lips. Note the 'heart' shape of the mouth. Continue on to the chin.  Go back up to the head band and instruct the students to create a headband.  Create the hair and ear to the right side of the paper. Notice the size of the eyes in paintings.  Translate that to the page of each students artwork. 


 Once the art is drawn, have the students use color to finish piece of work. 


Pop Art

Romero Britto Style


Pop art is an art movement that emerged in the mid 1950s in Britain and in the late 1950s in the United States. Pop art presented a challenge to traditions of fine art by including imagery from popular culture such as advertising, news, etc. In pop art, material is sometimes visually removed from its known context, isolated, and/or combined with unrelated material. The concept of pop art refers not as much to the art itself as to the attitudes that led to it.
Pop art often takes on its imagery that which is currently in use in advertising. Product labeling and logos figure prominently in the imagery chosen by pop artists, like in the Campbell's Soup Cans labels, by Andy Warhol. Even the labeling on the shipping box containing retail items has been used as subject matter in pop art, for example in Warhol's Campbell's Tomato Juice Box 1964.

With the 6th graders, we discussed and looked at artwork from Andy Worhol, and discussed his impact on the Pop Art world. We also discussed a more current pop artist, Romero Britto.  Born 6 October 1963, is a Brazilian-American Neo-pop artist, painter and sculptor. He combines elements of cubism, pop art and graffiti painting in his work. Consistently challenging himself, Britto has completed many corporate works for Movado, Disney, Enrico Coveri, Pepsi, the United Nations, BMW and Royal Caribbean Cruises. Britto has one main art gallery in Miami, on South Beach, FL.


Our art lesson took on the elements of Pop Artist Romero Britto, emphasizing his loud, bright and colorful influence with bold shapes and lines.  We spent some time looking at Britto’s work discussing his use of color, lines and shapes. 


This lesson was created by our Art Coordinator using elements of Romero Britto’s work.  Using strong POWER WORDS (such as friendly, interesting, fun, social, athletic, etc) and INTEREST WORDS that describes their individual interests (such as soccer, math, reading, video, baseball, makeup, etc). Here we have artwork created by our 6th grade artists!!

Materials:  Watercolor markers, Black Sharpies, 12 x 18 white cardstock, 12 x 18 black cardstock, scissors and pencil.

Medium: Black sharpies and watercolor markers.


Prep Time: Including the taking of pictures, formatting into a document all the images and having them printed. Gathering materials. 1 ½ hours total.Reason for Lesson:  Lesson addresses the Principle of Art as it relates to movement, and variety. The basic fundamental element of art used is line and color.


Preparation prior to lesson: 
This lesson can take a while to prep. Arrange to photograph each of the 6th grade students, could take one hour total. Take photos in black and white format OR change format to black and white post images. Create a document for each 6th grade class that includes a large 81/2 x 11 image of each student. Save on a USB and have it printed at Staples or Office Depot. Cost is approximately .10 per page printed. Submit receipt to Art A Baloo Leaders to reimbursement.

Instructions to lead lesson:
Discuss the concept of pop art. Features famous Pop Artists Andy Worhol and Romero Britto. The art lesson will take on the same affect as Romero Britto with bright color, dark lines and large shapes. Discuss the idea of lines and how they can be wide, thin, straight, curvy, dotted, etc
.

Spend some time looking at Britto’s work and have the students point out, as a class, the features of Britto’s art…loud, bright, colorful. EMPHASIZE that the shapes and lines should be LARGE and LOUD to get the same effect as Romero Britto. Make sure the students MINIMIZE the use of small items on their drawing.


  1. Provide a picture of each student (copied onto 8 1/2 x 11 paper) that was taken prior to the art lesson.
  2. Have the students cut out their entire body and lay the piece on the bottom right hand side of the white paper. 
  3. Trace around the picture so you have a starting point for the lines. 
  4. With a pencil, create random lines beginning from different areas of the head and extending randomly to the edge of the paper.
  5. Remove the picture and set it aside. 
  6. Using a black sharpie, go over the pencil marking but NOT the outline of the head/body. 
  7. Using the sharpie, begin creating random shapes and lines within the lined area. 

Create BIG, BOLD LINES and SHAPES. Add POWER WORDS and PERSONAL INTEREST WORDS randomly through the artwork.

Along with creating lines and shapes have the students add POWER WORDS to describe themselves. Help the class come up with POWER WORDS. Ideas: Funny, Smart, Kind, Fun, Social, Thoughtful, Friendly, Capable, Interesting, Crazy, Athletic, etc. Words that help describe their PERSONAL INTEREST WORDS. Examples: Soccer, Volleyball, Swimming, Music, iPod, iphone, makeup, Football, Softball, Baseball, Reading, Math, Video, drums, violin, instruments, singing, etc.

We will be cutting out the colored area and mounting colored area and ‘face’ on a black piece of construction paper.


Credit:  This lesson was created by PV Art Coordinator Deanna Haggerty with inspiration from artists Romero Britto and Andy Warhol.

Thursday, April 18, 2013

MoMMA Event ...a Quick Peek with more to come!

Our 1st Annual Art Show, MoMMA, started last night and ends tonight.  Last night was amazing!  With much excitement and pride, our kiddos showed what magnificent artists they are!  

Tonight is the night for a intermediate grades of 4, 5, and 6.  Starts at 7 and ends at 8.  If you wish, please consider a donation of $1 or more which supports our growing program for more art supplies!!!

So here is a peek:

PTO President, Kelly, placing SOLD on a students purchased artwork

6th Grade POPART Collection

5th Grade

A quick review on the Elements of Art

Our 3rd Graders tribute and artwork like artist Fred Babb

1st Grader's Silhouette Art...Beautiful!

What does a Kindergartner "what to be when grown up" Art

Paint Brush Treats!  Yummy!!


Picasso inspired Artists are in this School!

Amazing greeter and Co-Author of this blog...Deanna!

Proud Parent with her Kindergartner

See how fun this is!!!!  Thank you PV PTO!!!

There are more pictures and a event review coming...check back next week after we are all cleaned up!!

Happy Creations!

Monday, March 25, 2013

Springtime in the Palouse, Rhythm and Pattern


Springtime in the Palouse, Rhythm and Pattern


Medium:  Watercolors

Reason for Lesson:  To learn about the rhythm forms and patterns in art

Prep Time:  30 minutes

Class Time:  45 to 60 minutes

Materials:  Watercolor Paper, Watercolor Paints, Sharpies Ultra Pens, Crayons, Paint Brush, Ruler.  Optional for flowers: pencil, glue and tissue paper 

Steps for Lesson:
1.  Have student write number on back for paper

2.  Draw rolling hills (suggest 2, 3 max)

3.  Using ruler, divide hills into 3-5 segments

4.  Using ruler, divide segments into 2-3 block segments

5.  Inside block segments, draw patterns, shapes, lines, etc.

6.  Using crayons, color in the shapes, between lines, how ever you choose :)

7.  Begin to paint with watercolor paints inside the block segments.


 It's great to mix your paint using warm colors with warm color, cool with cool

You can even create interesting clouds and sun, making them a little different in color than we are used to. 


8.  HELPFUL HINT!!  The watercolor paint will float in the crayon markings...if you get too much paint, use a paper towel and dab dry.  Also, to lighten paint, use more water and smooth out, you may also use a paper towel and dab.  


OPTIONAL: If you have time, a student chooses, have student draw flower stem.  Using 1x1inch tissue paper, pencil and glue, glue on little paper tulips on art piece   

Wrap tissue onto pencil as shown below.  Use just a small dab of glue.

DONE!

Saturday, February 16, 2013

Colorful Creative World of Fred Babb


Art is FANTASTIC


Art is YUMMY

Art is MAGIC

Art is ME!

Colorful Creative World of Fred Babb
Fred Babb was one of the most colorful, expressive and funky, fun artists of our modern times. He is an absolutely perfect study for our funky fun 3rd graders who love to use color and express themselves.  Babb's story is fun to share because he started creating his masterpieces at a young age, in elementary school...about the same age as our third graders.  This also makes Babb the perfect focus artist for our upcoming Art Gallery show.  Each of our 3rd graders will be able to freely express themselves, showing their parents the artist within.

But before we let their creatively soaked minds, doodle wildly on a canvas, let's start by teaching them about the artist.  A powerpoint presentation is available for our classroom and it was created by gathering the information mostly on the Fred Babb site.  Share his life with students and then review these 10 questions.  Students can show and share with their parents at the Art Show, all the amazing things they know about Fred Babb!

Question 1:  What state was Fred Babb born in?

Question 2:  What year was Fred born?

Question 3:  When did Fred Babb begin expressing himself in art?

Question 4:  How did Fred Babb get his art supplies...where did he get his money?

Question 5:  How many children were in Fred's family

Question 6:  Fred couldn't afford paper, so what did he use as his canvas?

Question 7:  What was the name of the Magazine in which Fred found inspiration?

Question 8:  Fred did not preplan or pre-sketch his work...how did he do it? 

Question 9:  As an adult, to earn money for his family, what job did Fred Babb do?

Question 10:  What year is Fred Babb pass away?


After reviewing the questions, spend a few minutes brainstorming what art is to them.  Art can be magical, fun, colorful, imaginary, and so on...  You may need to help some students spell out the larger words.  We are just about ready to let the oil crayons roll about, but first, I want to share a sentiment from the blogger at Deep Space Sparkle.  She wrote a sweet reminder to all of us art teachers; so simple, so perfect.  

"Fred died in 2006. I would have like to have met him. He stood for everything I believe art should be; an extension of oneself that is not necessarily taught, but understood. I try to remember this each time I walk into my classroom and face the little individuals that we often clump together as a whole. I try to remember that each child has a story. Each child has an expression.  I don’t always maintain this level of thinking. Often I succumb to the pressures of classroom management and parent expectations. At times, I’m a slave to the minutes on the clock, finishing the project, encouraging the kids along.
Rushing.
Poking.
But when I browse through my collection of Fred’s Art, he slows me down. Reminds me of why I’m here. Nudges me to think in broad terms. Tells me to remember the most important thing of all: don’t let yourself be the reason kids abandon art. 
Be the reason why they embrace it…for life."  
Thank you Ms Palmer for giving us all some re-focus.  :)
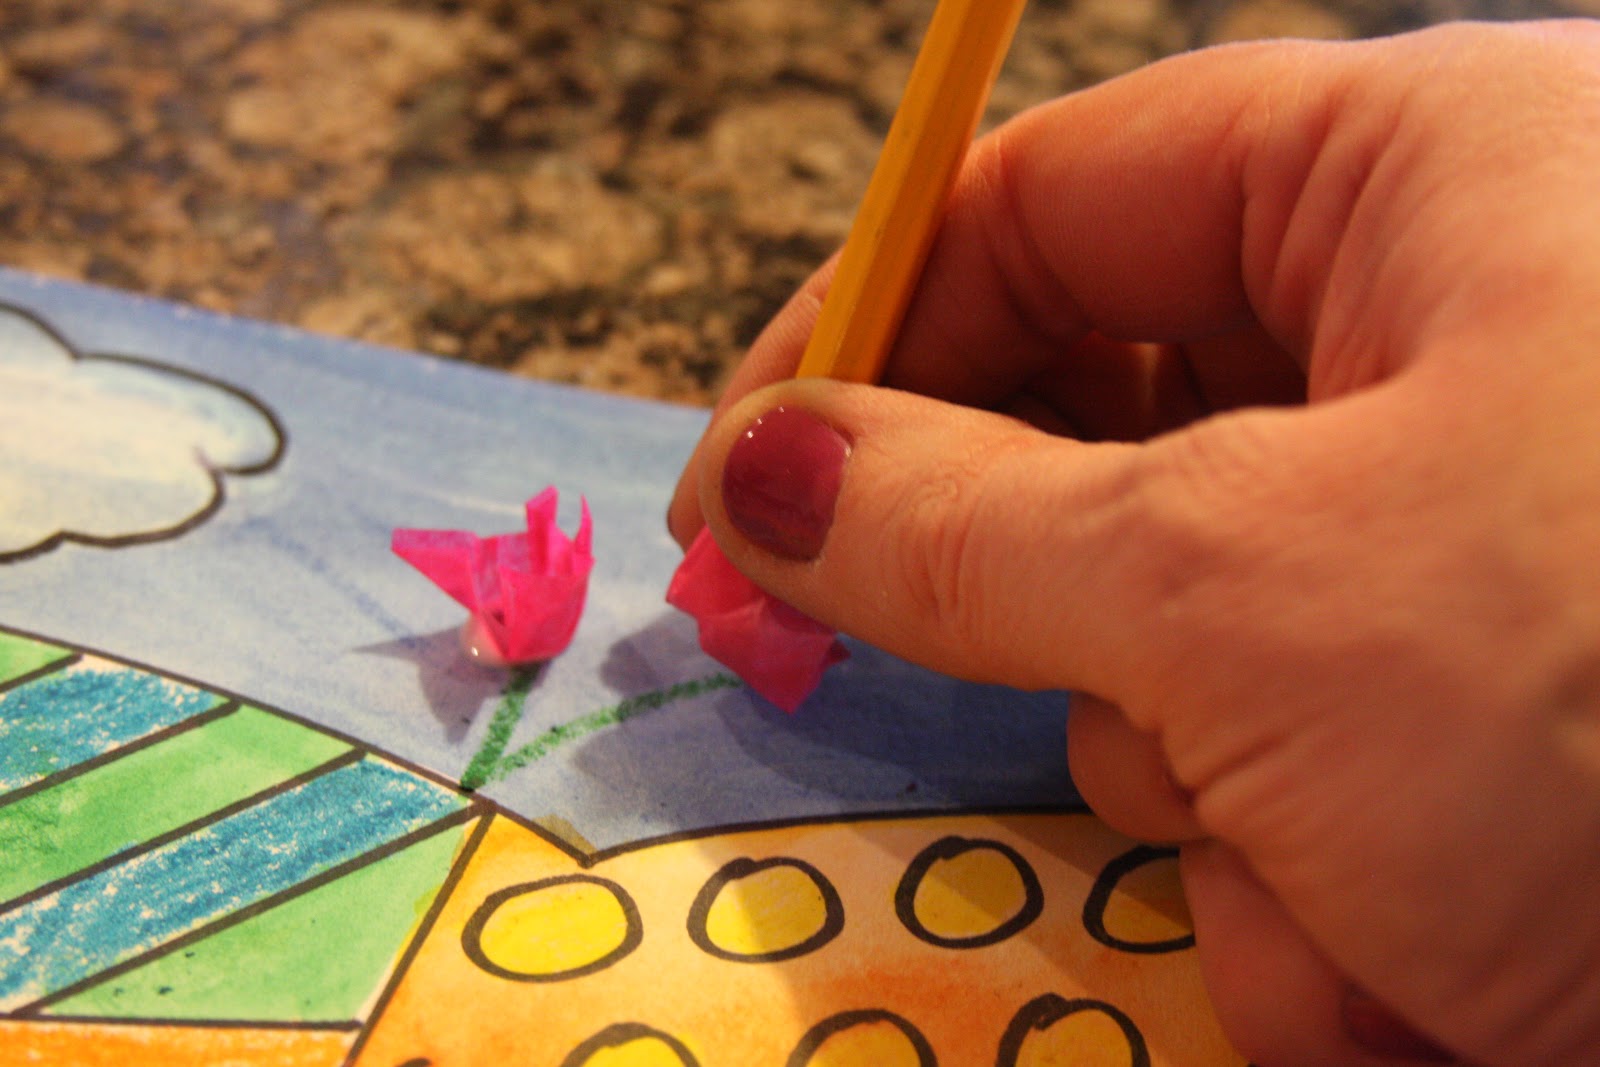

Medium:  Oil Pastels

Reason for Lesson:  To learn about the artwork and the artist Fred Babb, and to explore the limitless self expression in a self portrait using color, shape and tons of imagination. 

Prep Time:  20 minutes

Class Time:  20 minutes for lesson time about the Artist, then 45 minutes for art creation.

Materials:  Oil Pastels, Paper Sacks* (will require extra prep time) or Black Paper.
* We wanted to have our kids really experience what Fred may have when he created.  Using grocery paper sacks will require extra prep time for trimming.  Obviously use the side of the bag without the seam.  However, keep the seem side to use as a barrier sheet if you plan on storing the art to prevent smearing on other students artwork.  To help grocery sacks lay flat, mount on background paper.

Tips for Lesson:
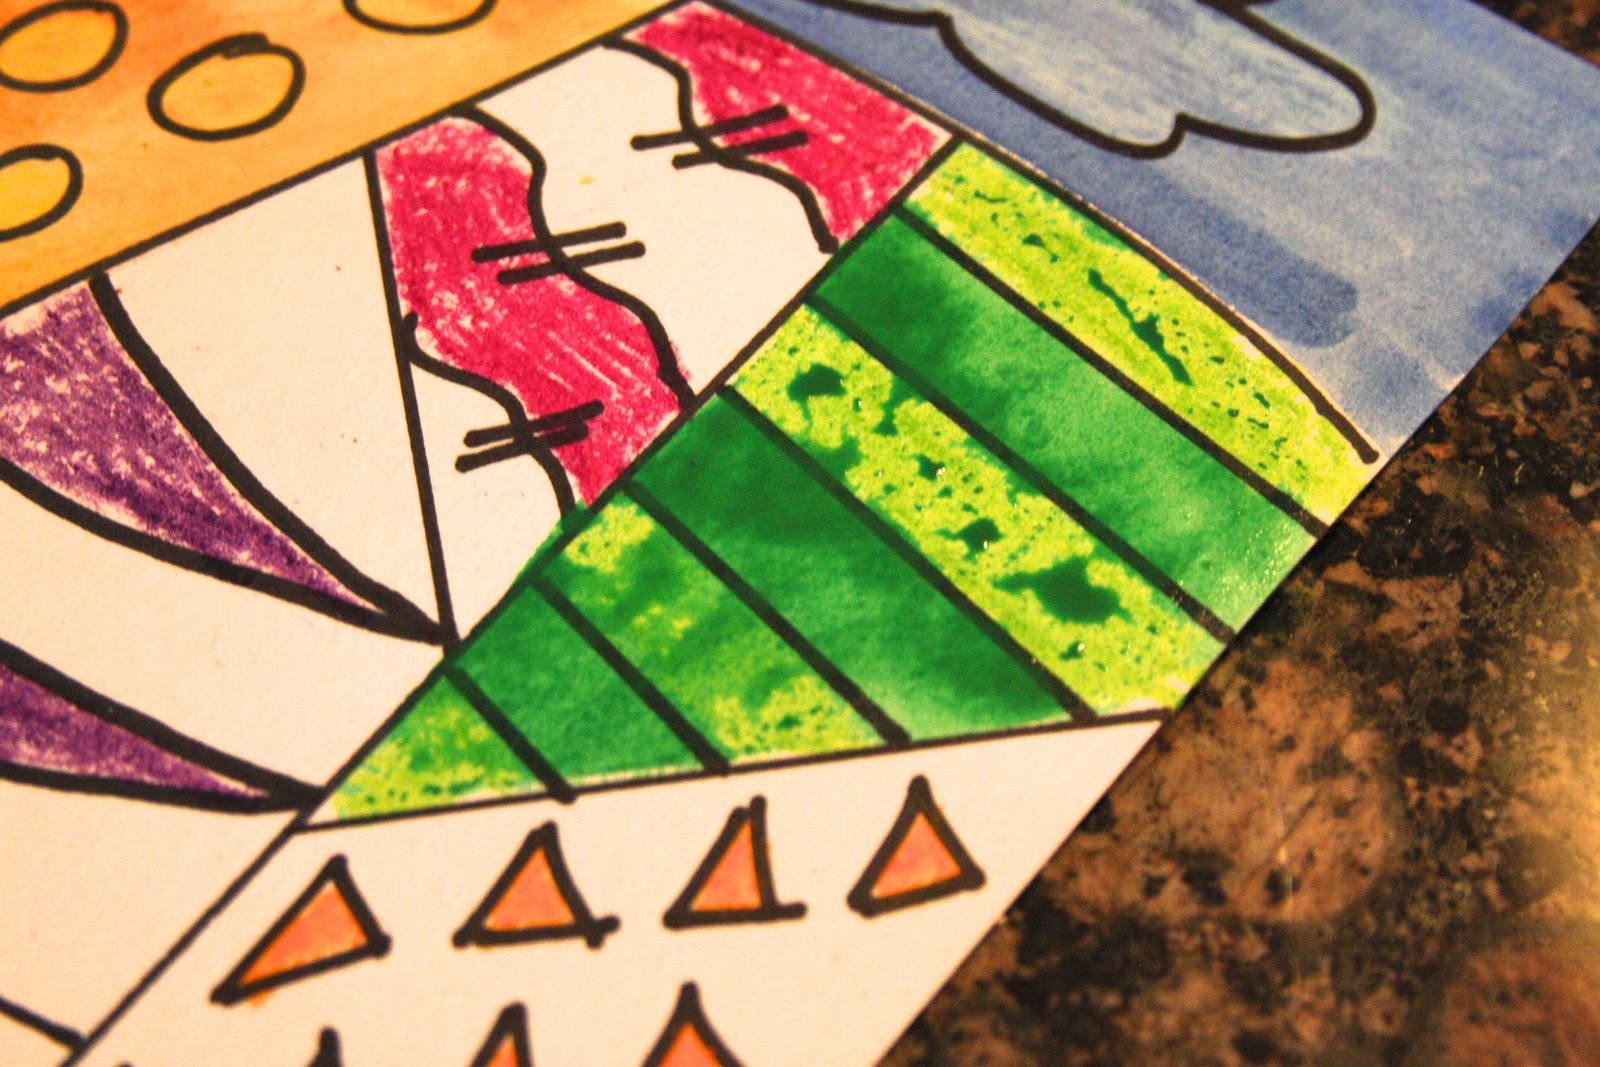
Oil pastels can be a little difficult  for 3rd graders to use.  They are so excited to dig into their work, they will need to be reminded how to use them, and how easy their artwork can accidentally change with smears.  Here is how I suggest they use them.  First, if they outline their face using a dark oil crayon, especially black, have them use it last.

Remind students to start their art from the top down.  This will help keep their art from smearing and their sleeves clean.  Using "imaginary" lines, divide the canvas into three parts.  Since we used grocery paper sacks, our imaginary line were organically included.


As suggested above, have the students brainstorm what "art is" to them.  We suggest to use the top portion #1 for coloring ART IS.


Next comes the self portrait portion...

Bottom section is for what art means to the student...fun, funky, it'll be fabulous! 


Answer 1:  Minnesota
Answer 2:  1947
Answer 3:  Early elementary school age, around 3rd grade
Answer 4:  Fred used his lunch money
Answer 5:  Fred was a middle child in a family of eight (8) children
Answer 6:  Fred used Grocery Paper Sacks
Answer 7:  Mad Magazine
Answer 8:  Fred experiences art through the process of creating. He does not begin with ideas, he allows them to present themselves as he works.
Answer 9:  Painter and Furniture Refinisher
Answer 10: Fred died in 2006 at age 59