
Today we are going to read the story of Jack in the Beanstalk.
We will then be drawing our own giants from the story, and planting our very own beanstalks!
When they grow, the vines will wrap around our giant, so it will look like he is looking down the beanstalk at Jack! Let's read the story of Jack in the Beanstalk:
While the video is playing, docents, please make sure you have the following supplies for the project:
Supplies
Sample Giant
Printed template (preferably on cardstock) - see below for the template
Scrap paper for the desks
Pencils
Black Sharpies
Printed template (preferably on cardstock) - see below for the template
Scrap paper for the desks
Pencils
Black Sharpies
Oil pastels in all colors (classroom pack)
Scissors
Googly Eyes - 2 per
Glue
Bamboo Skewers - 2 per
Tape
Pre-filled plastic cup with potting soil
1 bean seed


Scissors
Googly Eyes - 2 per
Glue
Bamboo Skewers - 2 per
Tape
Pre-filled plastic cup with potting soil
1 bean seed
- Before we begin, let's talk about PERSPECTIVE. What do you notice about this giant? Why do you think we made his head so small, and his pants and boots so large? That's right! We want our giants to look very big, and like he is looking down from the beanstalk (or that Jack is looking up at the giant). PERSPECTIVE is a technique in art where we're creating the illusion of something else - that our giant is looking down. Is he really looking down? No - but we're going to draw him from that PERSPECTIVE so that when people look at him, they'll think that he's doing that. Let's begin our drawing.
- It's going to be very important for you to follow along as we draw and do our coloring of the giant together. We are going to be learning some new shading techniques as we color, so let's make sure to listen. (Docents, please use the document camera or the white board to draw with the students - show AND tell).

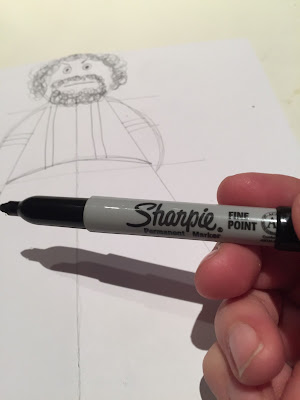
- This will be the template we will use. Do you see how the top (his head) is small, his middle gets a bit larger and the bottom (his pants) are very large? This is how we will show PERSPECTIVE in our project! Let's begin drawing.
- First, add his pant legs on the bottom:


- Next we're going to draw his boots:

- Now we're going to add another small part to the pant leg and then draw a Y for the giant's boot:

- Now we're going to add the boot laces:


- Now let's move onto the giant's shirt. We're going to draw his arms (like two "bananas" on each side - these will be his sleeves). Add a sash for his "belt" and two lines on each side for his suspenders:

- While some of our fellow artists catch up, let's talk a minute about SYMMETRY. SYMMETRY means when objects in our piece of art balance each other out. Can you find examples of SYMMETRY in our project? His boots, his trousers, his suspenders and his arms are all SYMMETRICAL or in balance in our project.
- Now for his face. I made my giant's face kind of angry, with curly hair, but you can make yours however you would like! The most important thing is two eyes and his mouth (we don't need a nose as we're going to draw him with a beard):

- Take a look at your giant - how does he look? Let's take your Sharpie and outline your boot laces, the arms of your giant's shirt and his face. You don't need to outline anything else - just those few things.

- Are you ready to move onto coloring our giant? (Docents, please hand out oil pastels. The artists will need Red, Orange, Yellow, Green, Blue, Black, Brown and Peach or Tan (for their giant's face).
- Before we begin, let's talk about VALUE. We used VALUE when we created our Chengdu Pandas. Do you remember what VALUE is? VALUE is how we show light and dark in our artwork. Do you notice on my sample giant that his boots are orange, but that the bottom and the top are different shades of orange? Same with his pants - they are both blue, but they are different shades of blue. This is VALUE. In order to do this in our art today, please follow along carefully as I teach you how to show this on your paper!

- First we will want to very lightly color the bottom of the giant's boots with orange pastel:

- Next, add yellow pastel over the top and blend the two colors together until it is all the way colored in!


- Now for the top of the giant's boot, we will do the same thing, but we're going to start with a little bit of red and then color over the top with orange. To help you stay in the lines, I find it easier to outline and then color.


- Now let's move onto the giant's pant leg. We're going to add a small amount of black to his pant leg. Outline like before and then just a little up the middle of the pant leg:


- Now we're going to blend those areas inside his pant leg with blue.

- Now for the rest of the giant's pant leg. Outline in blue and color it all in. Make sure to blend the black in all the way.

- When you are done coloring in the blue, add white oil pastel over the blue, and add his red belt to the top of the trousers.

- Next, color his shirt yellow and his suspenders green. You can add three small buttons down the front of his shirt with your Sharpie if you'd like!

- Now color in your giant's face with a peach or tan oil pastel, and then his hair and beard.

- Now we are ready to cut out your giant! Please do this carefully - all the way around the outside, and the inside of his trousers/boots:


- Docents: While the artists are cutting, please pass out two bamboo skewers, two googly eyes and two pieces of tape to each desk. Once you are done cutting, put your name on the back of your giant. Now take the two bamboo skewers and line them up on the back of your giant like this (show the back of the sample giant). Please make sure they are equal and tape them down.
- Now turn your giant back over. Our parent helpers are going to come around and put two drops of glue on your giants for his eyes. Please add your googly eyes and put your giant somewhere safe to dry. You can then go wash your hands and clean up your area.

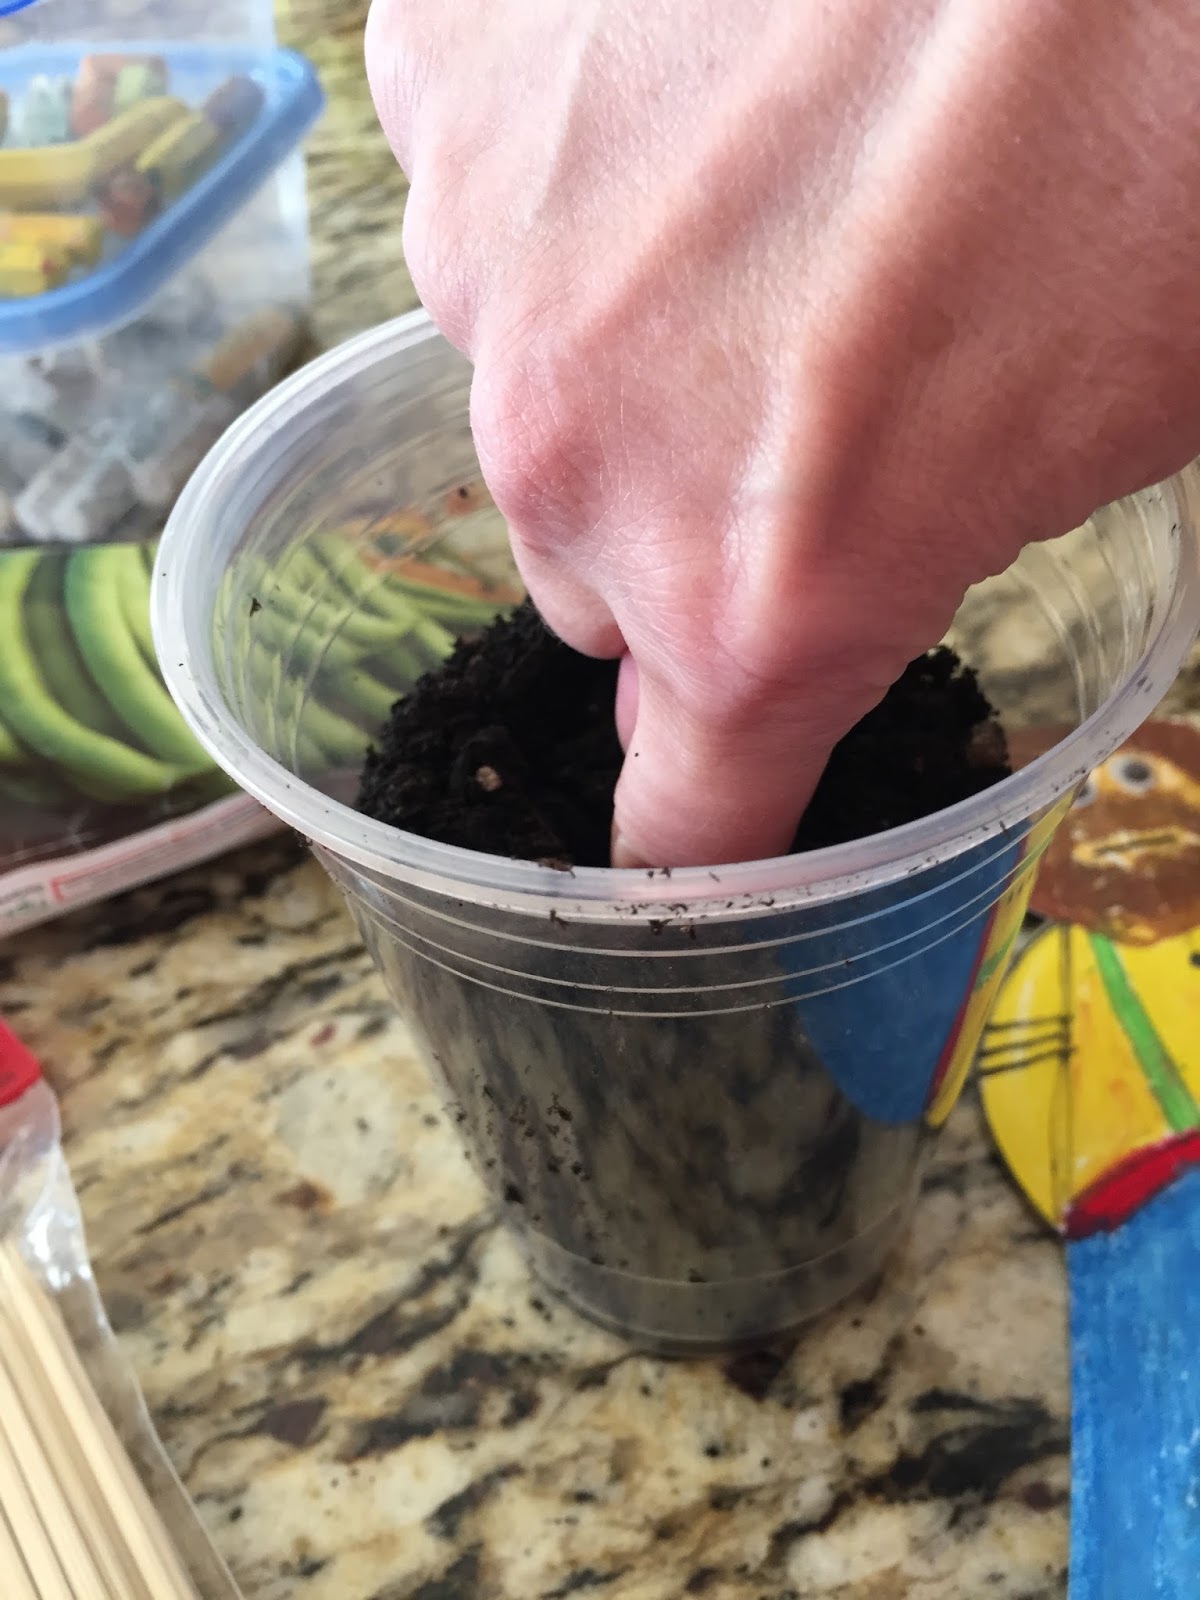
- Docents: While the students are cleaning up, please bring a clear cup of potting soil and a bean to each desk. Students, are you ready to plant your beanstalks? Make a small hole with your finger down the center of the cup. Then drop in your seed and gently cover it with soil. Please bring it to the back of the room and one of our parent helpers will help you water your beanstalk! Add your giant and you are DONE! You may take these home with you and watch your beanstalk GROW up to your giant! Make sure to water them!
- Extra Credit: If you would like to decorate your plastic cup with more characters from Jack and the Beanstalk, you can find a printable here! Ask mom and dad to print it off, you can color it and cut out some characters, and tape them on your cup!


- How does a seed become a plant? Let's find out!
Inspiration: looklovecreate.blogspot.ca
No comments:
Post a Comment